Are you planning to rent a car in the USA? You’ve come to the right place!
As a Polish woman living in the States for the past 2 years (first in rainy Oregon, now in scorching Arizona), I know how stressful renting a car in the USA can be for visitors.
I still remember my first encounter with the American rental system – full of uncertainty and questions! Today I’m sharing everything I’ve learned so you can navigate this process stress-free.
My Experience with Car Rentals in the USA
Before moving to the States, renting a car in America seemed complicated and intimidating.
Now, after countless road trips across Oregon, Arizona, and neighboring states, I can confidently say it’s not as daunting as it seems!
From the perspective of someone who’s been through it all, I’ll walk you through the process step by step.
Step 1: How to Book a Car in the USA
As a European, I quickly learned that booking in advance is essential! Unlike some places in Europe, planning ahead is definitely worth it here.
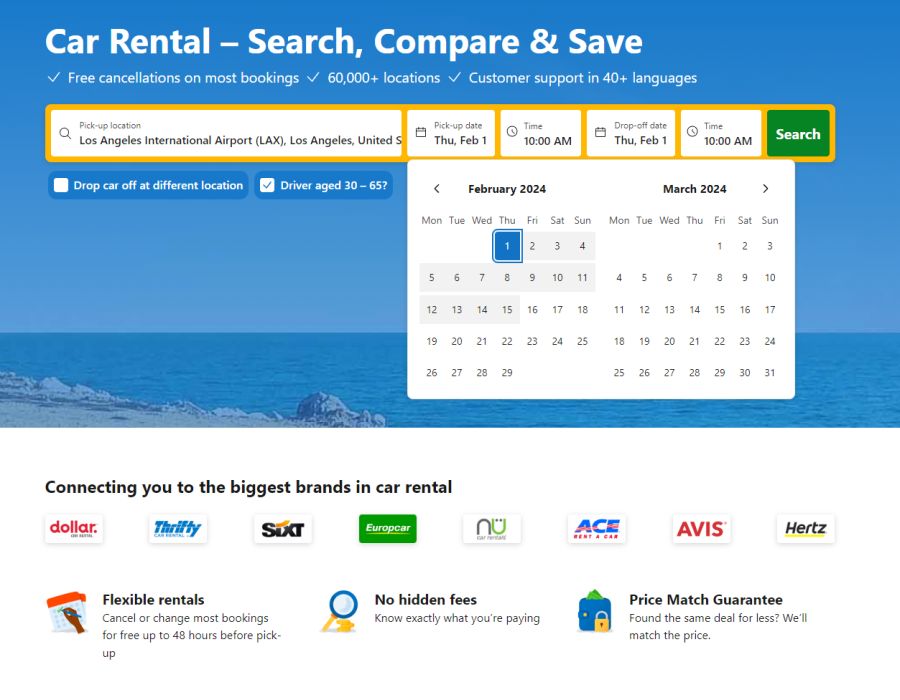
I always use rentalcars.com because it lets me compare offers from different rental companies simultaneously.
My most recent rental was a two-week trip from LAX (Los Angeles) airport. I was excited to show my visiting friends from Europe both the beauty of California and parts of my new “home” in Arizona.
Step 2: Which Car to Choose?
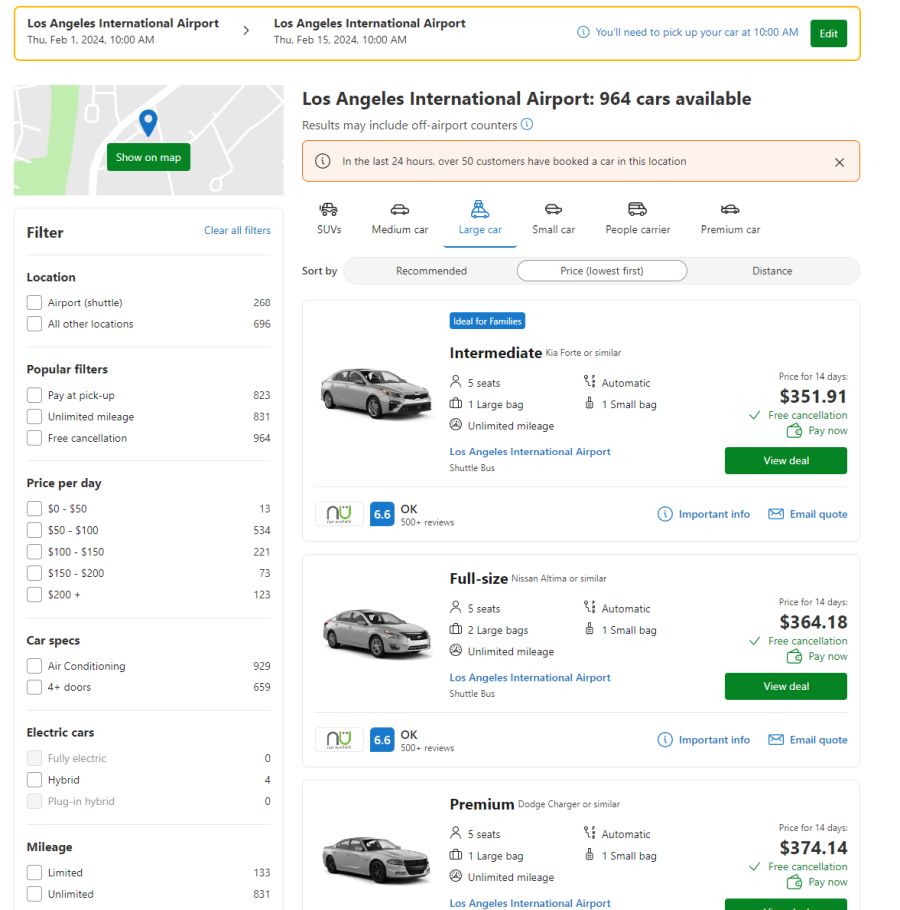
From experience, I can tell you that a sedan is usually your best bet! When I relocated from Oregon to Arizona, I rented a sedan and it was perfect – spacious enough for my personal belongings while still being economical.
Interestingly, in the US, you’ll pay only slightly more for a sedan than for a compact car, but the difference in comfort is enormous – especially if you’re planning longer trips, like my adventure to the Grand Canyon!
Step 3: What to Watch for in Rental Conditions
Dear reader, here’s a trap I fell into when I first came to the USA!
I remember renting a car in Portland (Oregon) and not checking the territorial restrictions carefully. It turned out my car couldn’t cross the state line! Fortunately, I realized this before heading to the Washington coast.
Now I always read the conditions thoroughly, especially those regarding the states where you can travel. Living in Chandler, Arizona, I often drive to Utah or Nevada for weekend getaways, so flexibility is key for me.

Step 4: How Much Does Renting a Car in the USA Really Cost?
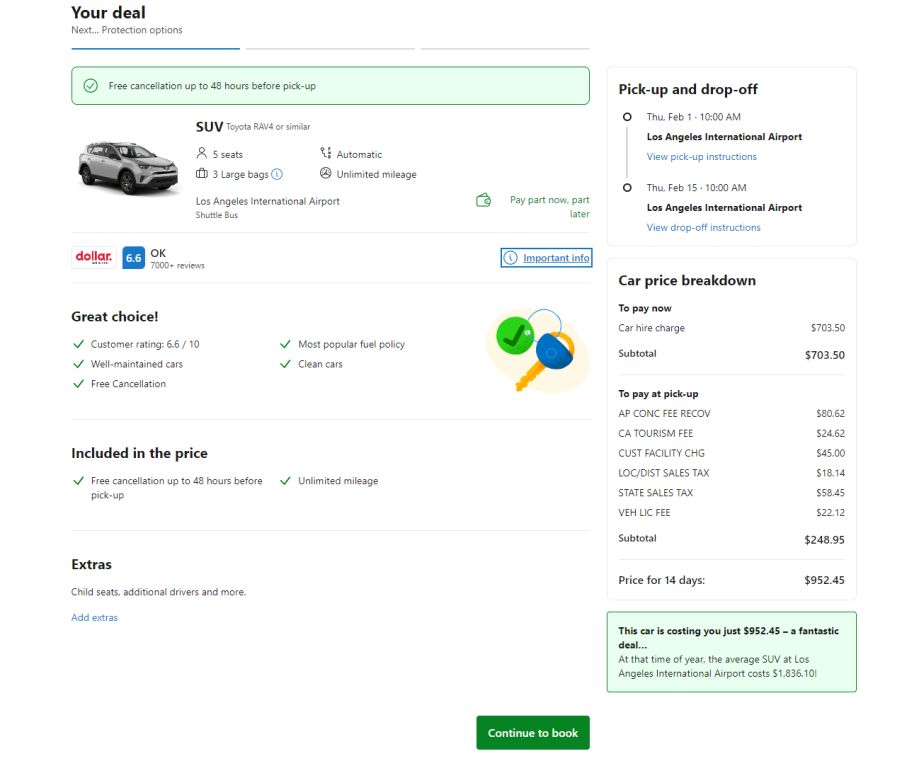
Prepare for a shock! In the USA, the base price always comes with numerous additional fees and taxes.
In my case, for a two-week rental, the initial price of $700 grew by another $250! And remember, that’s still without insurance!
Your wallet might initially struggle with this reality, but after two years in the USA, I’ve gotten used to the fact that you always need to add taxes (which aren’t shown on price tags in stores either).
Step 5: Which Insurance to Choose?
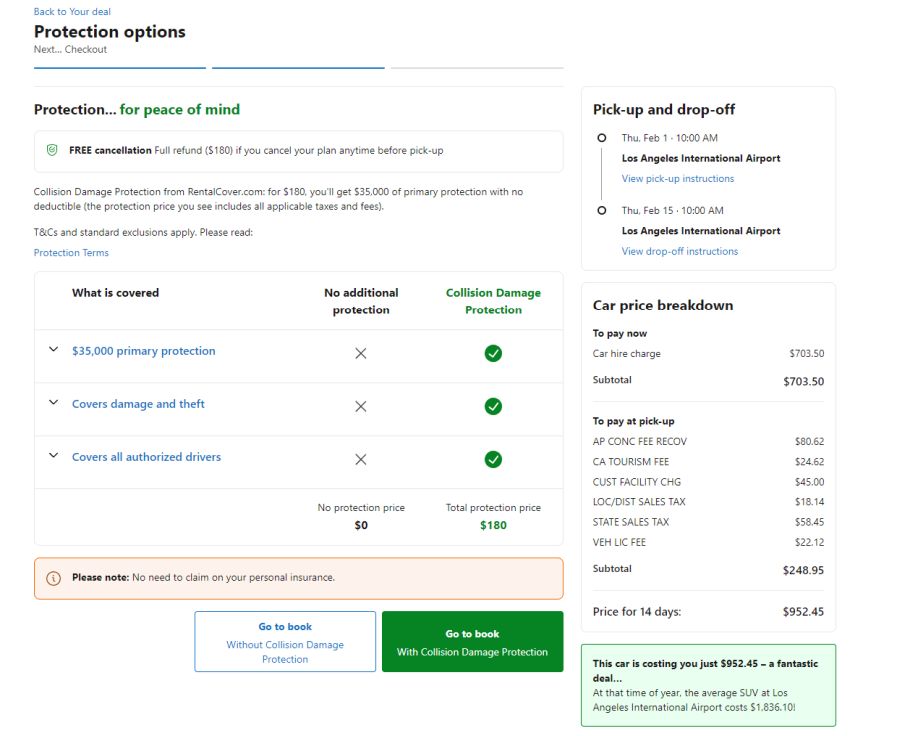
This is my personal opinion after many rentals in different states: don’t buy insurance through rentalcars.com! For Europeans visiting the USA, it’s not a good option because it requires having American insurance.
Instead, choose insurance directly from the rental company. Yes, I know-it will cost $35-50 per day (that’s $490-700 for two weeks), but it gives you complete peace of mind.
When I moved from Oregon to Arizona, I had a minor fender bender on Interstate 10-and thanks to full insurance, I didn’t pay a penny! It was worth it.
Step 6: How to Get to the Rental Facility After Landing
American airports are well–marked (definitely better than in many European countries!). After landing, going through passport control, and collecting your luggage, look for signs saying “Rental Cars” or “Car Rental.”
At LAX (and most major airports), you’ll need to take a special shuttle bus that will take you to the car rental center. In Phoenix, where I often fly from, it’s similar.
During holidays and peak hours, the lines can be long – this is the perfect moment to practice patience! I always have a book or podcasts ready to make the wait more pleasant.
Step 7: What Documents Do You Need?
From my experience as a European in the USA: you need your driver’s license and a credit card (not debit!) in your name.
Regarding an International Driving Permit-technically it’s required, but in my two years of living here and numerous rentals, I’ve never needed it.
In Oregon, they even smiled when I showed it; in Arizona, nobody asks for it. But just in case, it’s good to have one.
When picking up the car, they’ll ask about insurance. As a European, I’d recommend getting full insurance, especially if you’re not used to American roads, which differ from European ones (like the famous “right turn on red” rule!).
I usually skip tire and glass insurance but always get roadside assistance. I learned its value when I got a flat tire in the desert near Sedona!
Step 8: How to Pick Up Your Car from the Lot
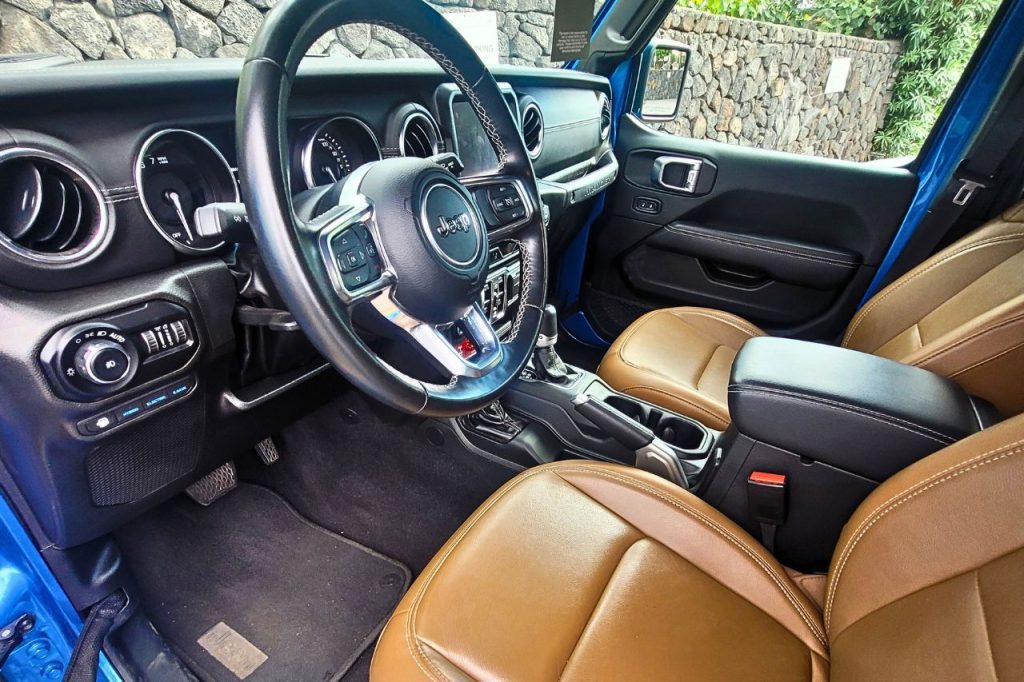
This was a shock when I first came to the USA! Unlike in Europe, you often get to choose your specific car from a designated area.
At the rental counter, you’ll get a parking area code (like “Economy” or “Full Size”). Go there and pick the car that suits you best. The keys are usually waiting inside!
A small tip from someone who lives here: it’s worth checking out several cars before deciding. Sometimes you find gems! In Phoenix, I once “upgraded” from a Toyota Corolla to a Nissan Maxima for the same price!
Most importantly-ALWAYS check the car for damage before leaving. Take photos of every scratch or dent. This saved my wallet when in Seattle they tried to charge me for a scratch on the door that was there from the beginning!
Step 9: Exiting the Rental Lot
At the exit gate, an employee will check your documents and the car. This is the last moment to report problems with the vehicle – later might be too late!
Step 10: What to Know During Your Rental
American traffic tickets are much higher than in Europe! Keep this in mind while driving in the USA.
In Arizona, where I now live, speed cameras can take your photo, and the rental company will add an additional fee for processing the ticket.
Another issue is toll road fees. Unlike many European countries, many roads in the USA are paid automatically (without barriers).
The rental company will charge you these fees plus a service fee. When I drive in California, I always set my navigation to “avoid tolls” – I save a lot of money!
Step 11: How to Return Your Car
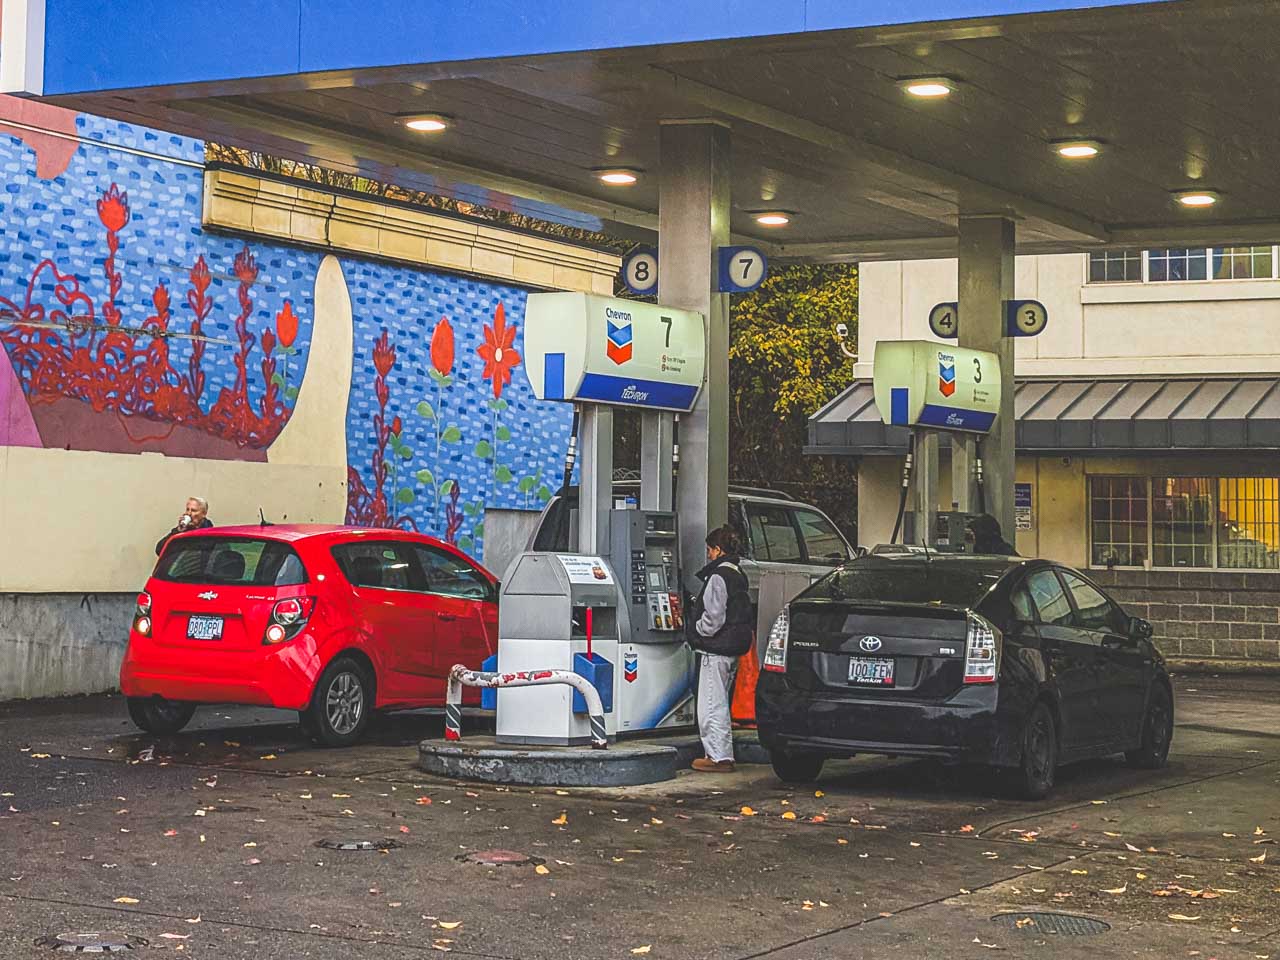
The most important advice from a European living in the USA: fill up the tank completely before returning! Rental companies have astronomical rates for refueling (up to $10 per gallon!).
You don’t need to refuel exactly at the airport-a station within a 10-15 km radius is fine. In Arizona, we have apps like GasBuddy that show the cheapest stations nearby-I recommend downloading it!
From personal experience, the return is usually quick and hassle-free. Employees rarely check every scratch in detail (unless it’s something serious). Upon return, you’ll get confirmation-be sure to keep it for a while.
How Much Does Renting a Car in the USA Cost? My Actual Expenses
As a European living in the USA, I keep a detailed budget of all expenses. Here are the actual costs of my last two-week rental:
- Basic car price: $703.50
- Fees and taxes: $248.95
- Insurance: $578.90
- Fuel (I drove about 3,500 miles): $700
TOTAL: $2,231.35
That’s about $160 per day – which may seem like a high amount when converted to euros or pounds. But believe me – the freedom to explore the USA in your own car is worth it!
Can You Rent a Car Cheaper in the USA?
From the perspective of someone who initially looked for savings at all costs: yes, you can find cheaper options, but are they worth it?
After moving to Arizona, I once tried the cheapest rental company… never again! The car was in poor condition, customer service was practically non-existent, and when I had a small problem with the lock, I was left on my own.
My advice to you:
- It’s better to pay a bit more and have peace of mind
- Read the conditions carefully (even the fine print!)
- Clarify all doubts BEFORE signing the agreement
- Drive carefully (American roads have their own rules!)
Travel Budget Calculator
Get your free Travel Budget Calculator now and plan your trip without the stress of overspending!
Final Thoughts on How to Rent a Car in the USA
After two years in the USA and countless car rentals, I can say one thing – don’t be afraid of this process! Yes, it’s different than in Europe, but after reading my guide, you’ll be prepared for everything.
If you have any questions about renting cars in the USA or generally about life as a European in the States – shoot me an email!
I’m happy to share my experiences of moving from Oregon to Arizona and all the adventures that a European woman encounters in America.
Take care and see you on American roads!
P.S. If you’re planning to visit Arizona, let me know – I’d love to recommend the best (and not-so-obvious!) places to see in my new state. The Grand Canyon is just the beginning of the adventure!
Pin it for later!
More articles you might be interested in:
- A 3-Day New York Itinerary You’ll Absolutely Love
- The Ultimate 4-Day Oregon Coast Road Trip Itinerary
- 10 AMAZING Things to Do in Yosemite National Park
- The 10-Day Pacific Northwest Travel Itinerary You’ll Want to Steal
- 10 Absolute Best Joshua Tree National Park Hikes
This article contains affiliate links. If you make a booking through these links, I may earn a commission, supporting this blog. Rest assured, my recommendations are based on honest assessments, and using these links doesn't affect prices for you. Thank you for your support!

