

Ever dreamed of hitting the open road in your own van conversion? I’ve been there – and let me tell you, transforming a regular van into a cozy home-on-wheels is quite the adventure!
After completing our own build from scratch, I wanted to share what we learned along the way.
This guide reflects our personal journey through the ups and downs of van conversion. Trust me when I say we made plenty of mistakes so you don’t have to!
Below are twelve crucial insights we picked up during our transformation process – covering everything from initial planning to material selection and equipment installation.
By sharing these personal experiences, I hope to save you from those middle-of-the-night “why didn’t anyone warn me about this?” moments.
Ready to dive into the nitty-gritty details that will make your camper van dreams come true? Let’s roll!

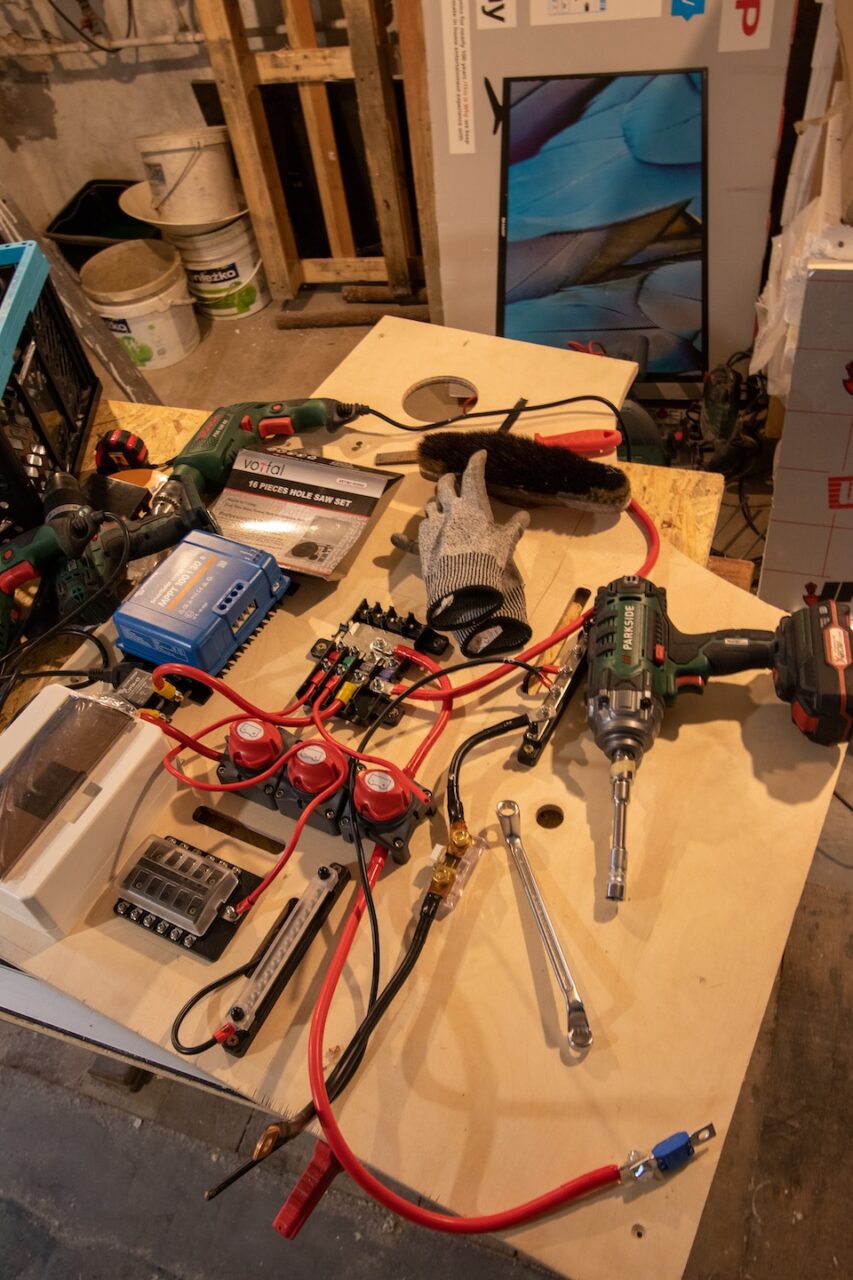
1. Finding the Perfect Power Setup for Your Van Conversion
During our first week-long trip, we learned the hard way that battery capacity isn’t something to skimp on. For bare necessities, start with at least a 100 AH battery as your foundation.
Will you be running a mini–fridge or need to charge laptops frequently? We upgraded to 200 AH after our first trip and noticed an immediate difference in peace of mind.
Planning to run AC? You’ll want to add another 100 AH (totaling 300 AH) to avoid those middle-of-nowhere power panics.
I recommend taking inventory of all devices you’ll use, estimating their runtime, and calculating your daily energy needs before drilling your first hole.
Remember – your van becomes your home, and nobody wants a home with unreliable electricity!
2. Watching the Scale: Weight Matters
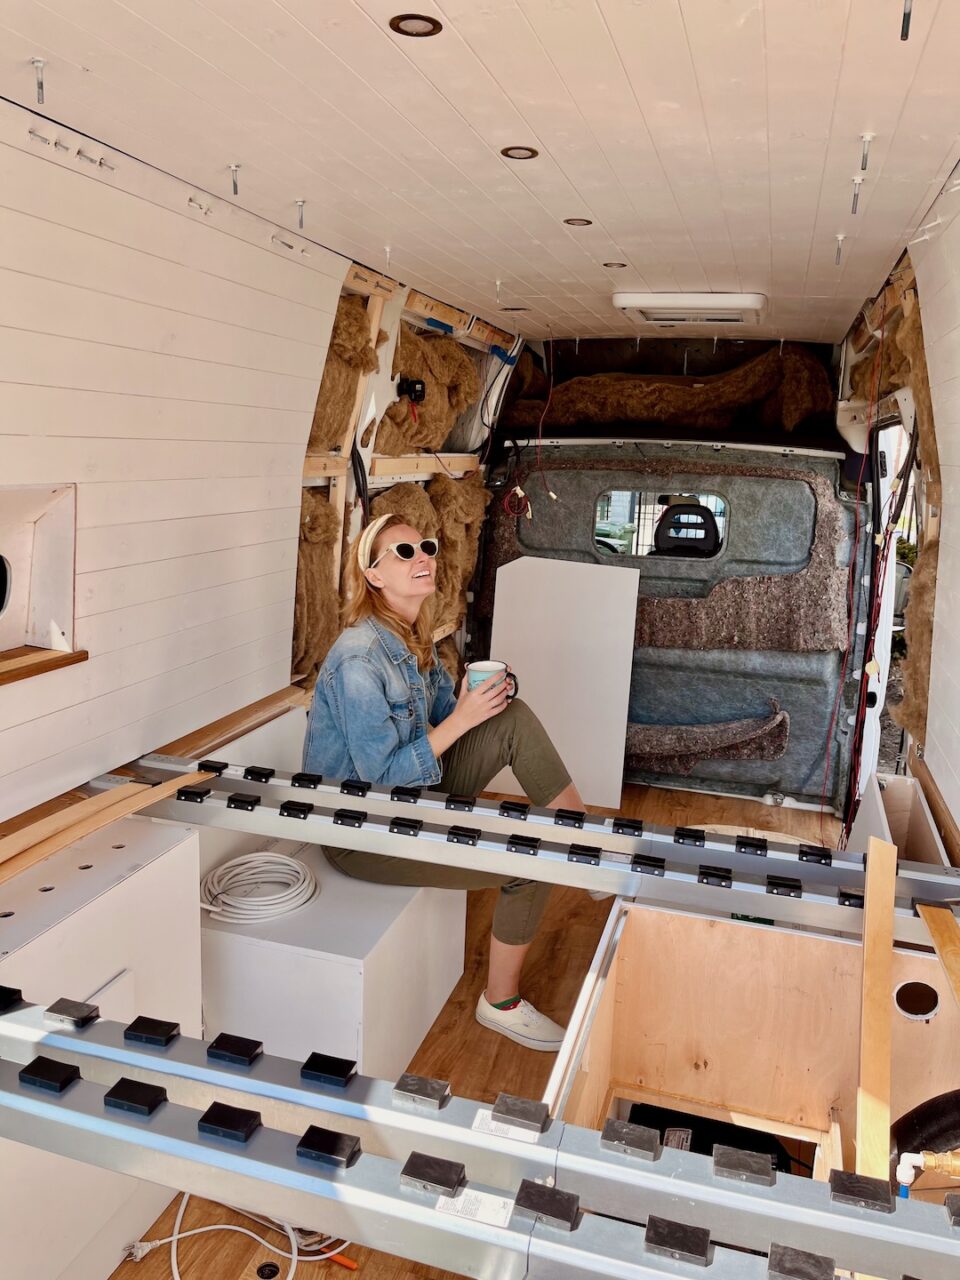
One lesson we wish we’d learned earlier: every pound counts when converting your van.
In Europe, we discovered that exceeding 3.5 tons total weight (including passengers) isn’t just uncomfortable – it affects handling, fuel economy, and stopping distance.
We found success using van-specific lightweight materials throughout our build.
Even small choices matter – opting for half-inch plywood instead of thicker varieties and using three-eighths-inch paneling saved us significant weight without compromising durability.
Another weight-saving tip from our experience: use butyl sound dampening sparingly and remember that full water tanks add considerable weight during travel days.
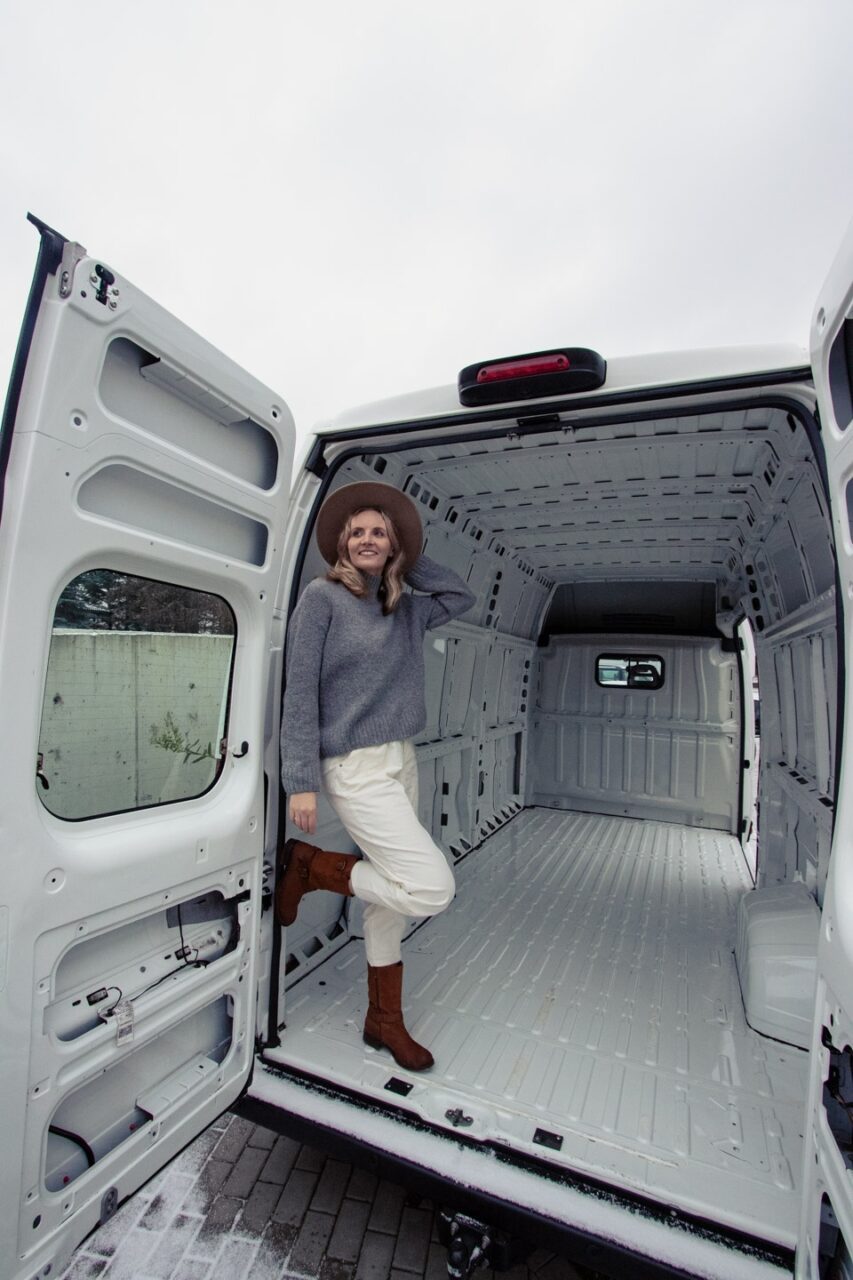
3. Selecting Your Perfect Van Canvas
Choosing the right van foundation completely transforms your conversion experience.
We test drove numerous options before settling on our choice, weighing the merits of popular models like the Mercedes Sprinter, Ford Transit, and Ram Promaster.
For those weekend warriors planning off–grid adventures, we strongly recommend considering 4×4 capability – it’s opened up countless stunning camping spots we’d otherwise have missed.
If you’re like us and enjoy exploring cities between nature stops, vans under 6.6 feet tall offer tremendous flexibility.
We’ve navigated downtown parking garages and tight European streets with ease while friends with taller vans often struggle with accessibility.
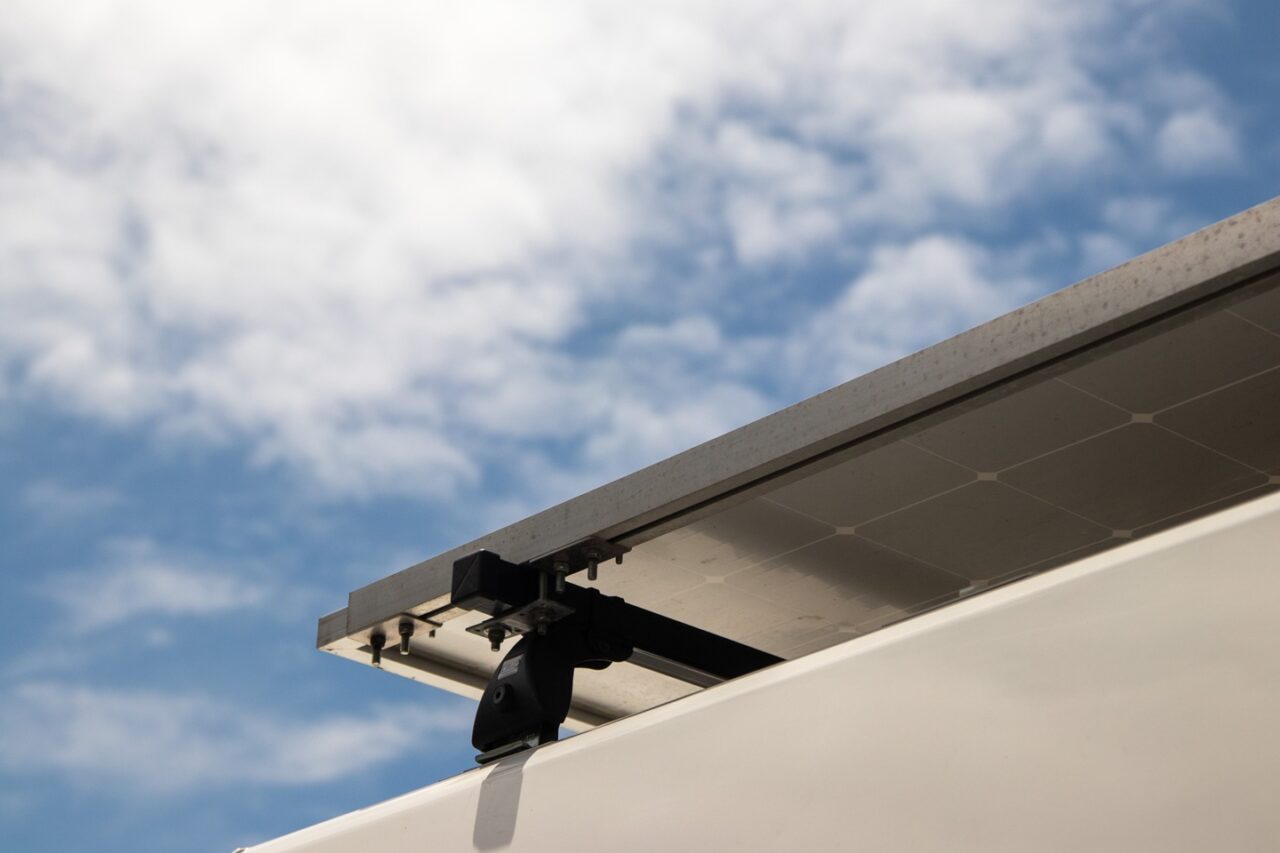
4. Harnessing the Sun: Solar Capacity Planning
After tracking our power usage for months, I’ve found solar panel capacity recommendations vary wildly depending on lifestyle. For minimalists with basic needs, panels generating 100-200 watts work beautifully.
Our setup includes a refrigerator and multiple devices charging simultaneously, making 300-400 watts our sweet spot. Power-hungry travelers running substantial electronics might need 400+ watts to maintain independence.
Consider your typical destinations too – we needed less power in sun-drenched Arizona than during our cloudy Pacific Northwest adventures. Properly sized solar ensures you’ll never need to cut adventures short searching for hookups.
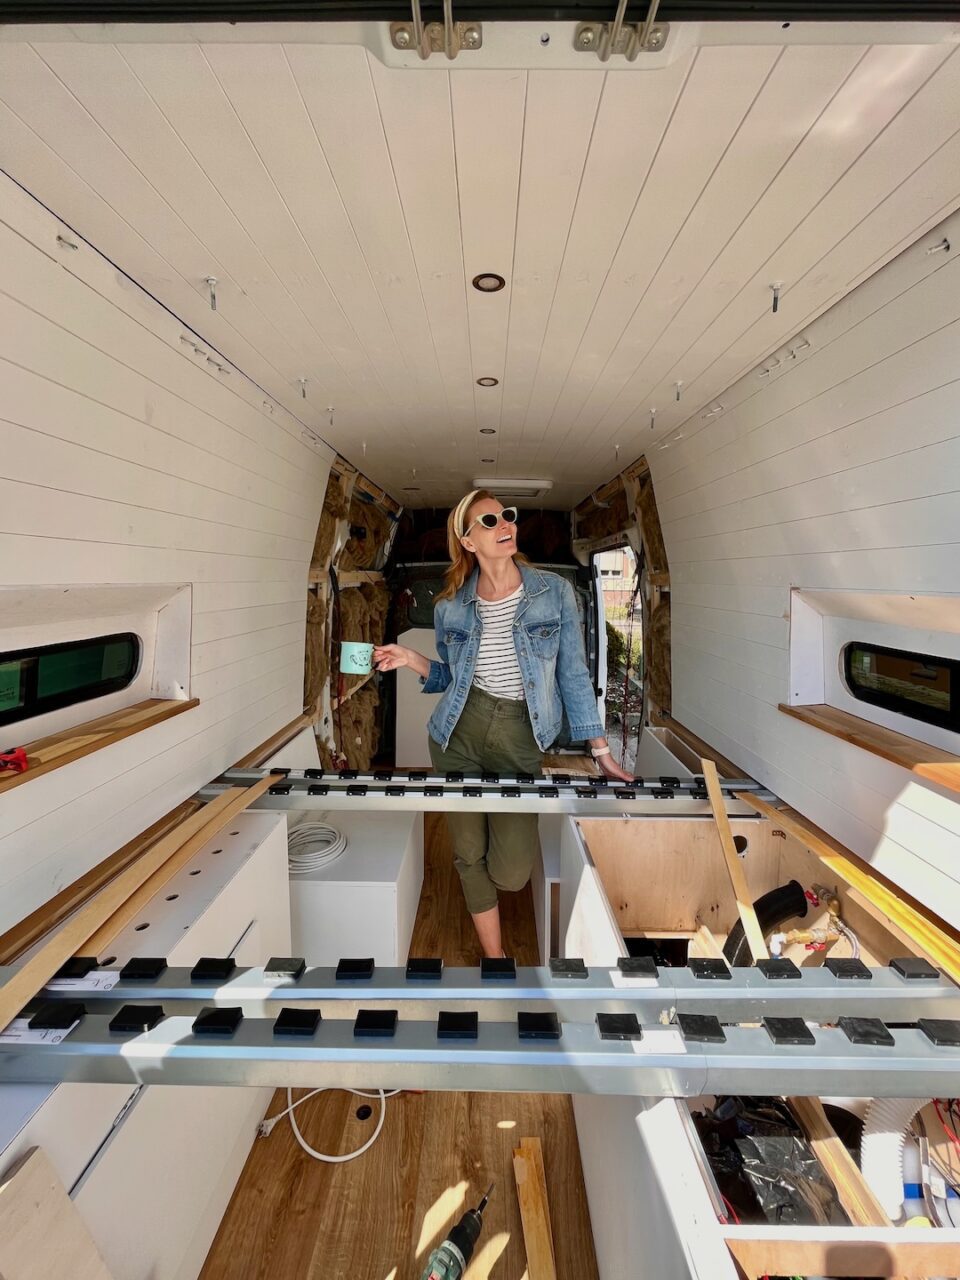
5. Setting Realistic Timeframes
When we started our conversion, I optimistically created a two–month timeline.
Seven months later, we finally took our maiden voyage! Learn from our experience: whatever time estimate feels reasonable, double it.
Breaking your project into manageable phases prevents burnout. We found spending mornings on complex tasks and afternoons on simpler projects maintained momentum without exhaustion.
Remember this isn’t just physically demanding – it’s mentally challenging too. Schedule deliberate breaks between intensive building weekends to preserve your sanity and relationship with your build partner!
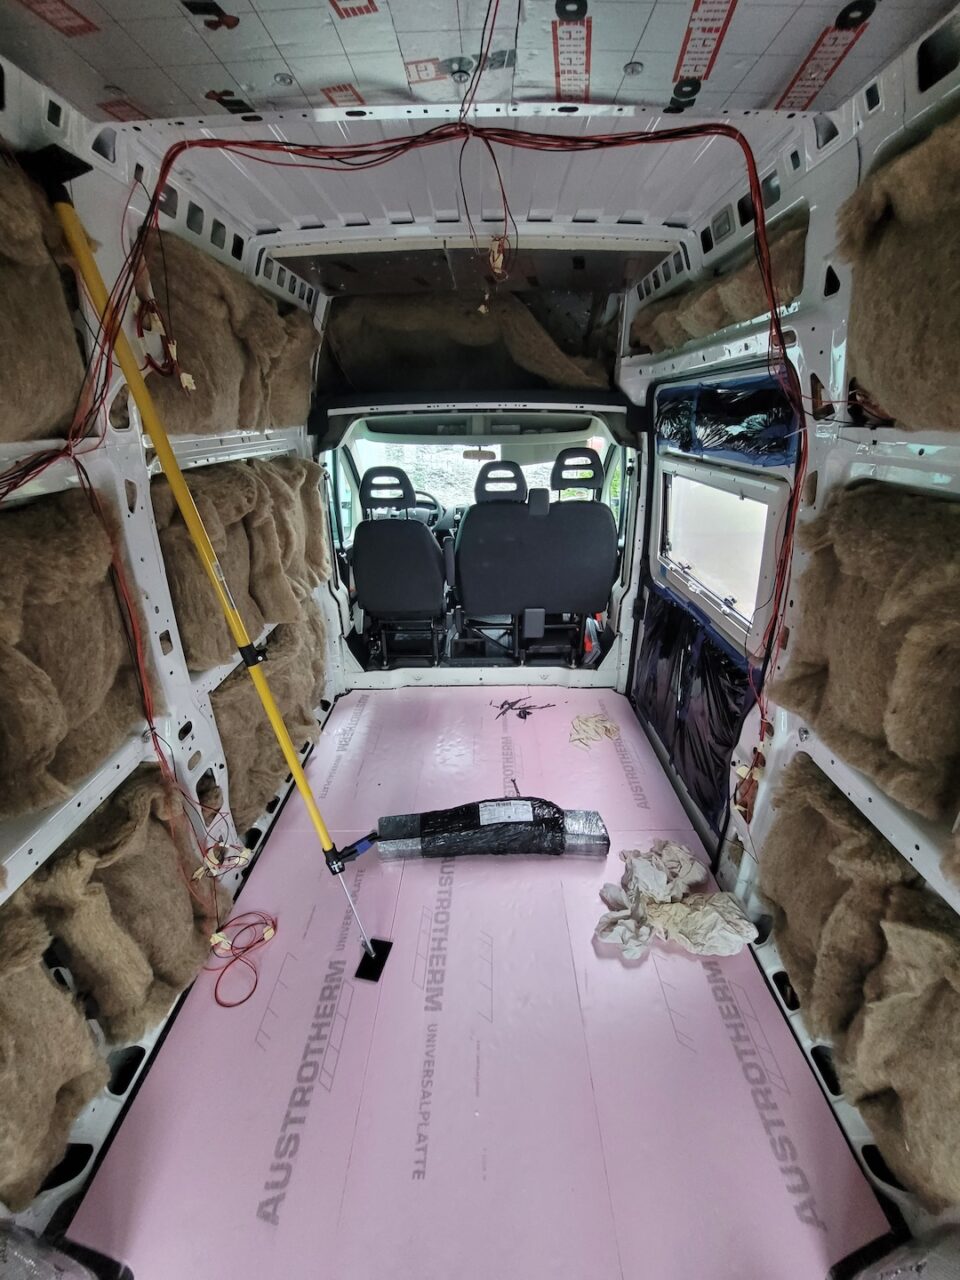
6. Insulation: Practical Over Perfect
I obsessed over insulation details for weeks, researching every material and technique available. Looking back, I should have spent less time worrying about creating the “perfect” system.
The truth is, complete insulation perfection remains elusive in vans – windows, door seams, and other areas will always have thermal compromises.
Focus instead on reducing condensation through proper ventilation and using quality materials where they matter most.
Remember insulation serves double duty – we appreciate it equally during scorching desert days and frigid mountain nights. Each van requires customization based on your travel regions and seasons.
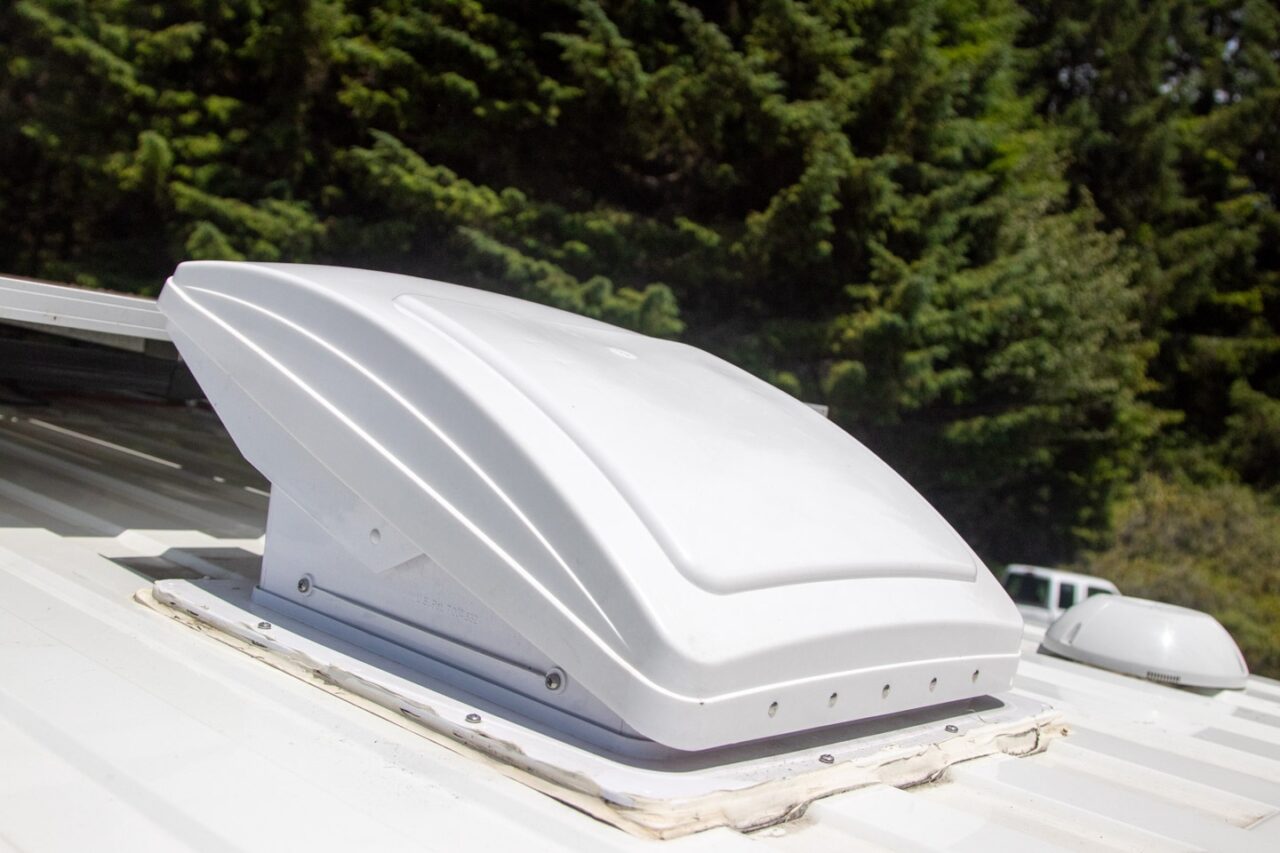
7. Breathing Easy: Ventilation Is Key
After living in our completed van, I’m convinced proper airflow makes a bigger comfort difference than almost any other factor.
Good ventilation prevents that clammy feeling and extends your van’s lifespan by reducing moisture problems.
Our winning combination: a ceiling fan positioned above the cooking area paired with tilt windows toward the rear creates perfect cross-ventilation.
This setup efficiently removes cooking steam while maintaining comfortable temperatures even on hot days.
Strategic ventilation planning based on your layout proves invaluable for humidity control and overall comfort – don’t underestimate its importance!
8. Sweet Dreams: Getting Bed Dimensions Right
Three months into van life, we realized our original bed was too short – a mistake that’s surprisingly common.
For sideways sleeping arrangements (typically around 5.9 feet wide), ensure comfort for anyone under 5.7 feet tall.
Taller travelers should plan for at least a 6.2-foot bed length, which might require lengthwise orientation or clever extensions. Trust me, there’s nothing worse than cramped sleeping after a day of adventures!
Invest time designing your bed space thoughtfully – quality rest fundamentally shapes your entire travel experience.

9. Seating That Makes Sense
When planning our seating configuration, we initially included extra spots “just in case” but rarely used them. Now I recommend matching seats precisely to your typical travel group.
Traveling as a couple? Skip the bench and install comfortable individual seats. Bringing friends or family regularly? Ensure everyone has certified, safe seating options.
Additional seats consume valuable space and add unnecessary weight – be realistic about who will actually join your journeys most frequently.

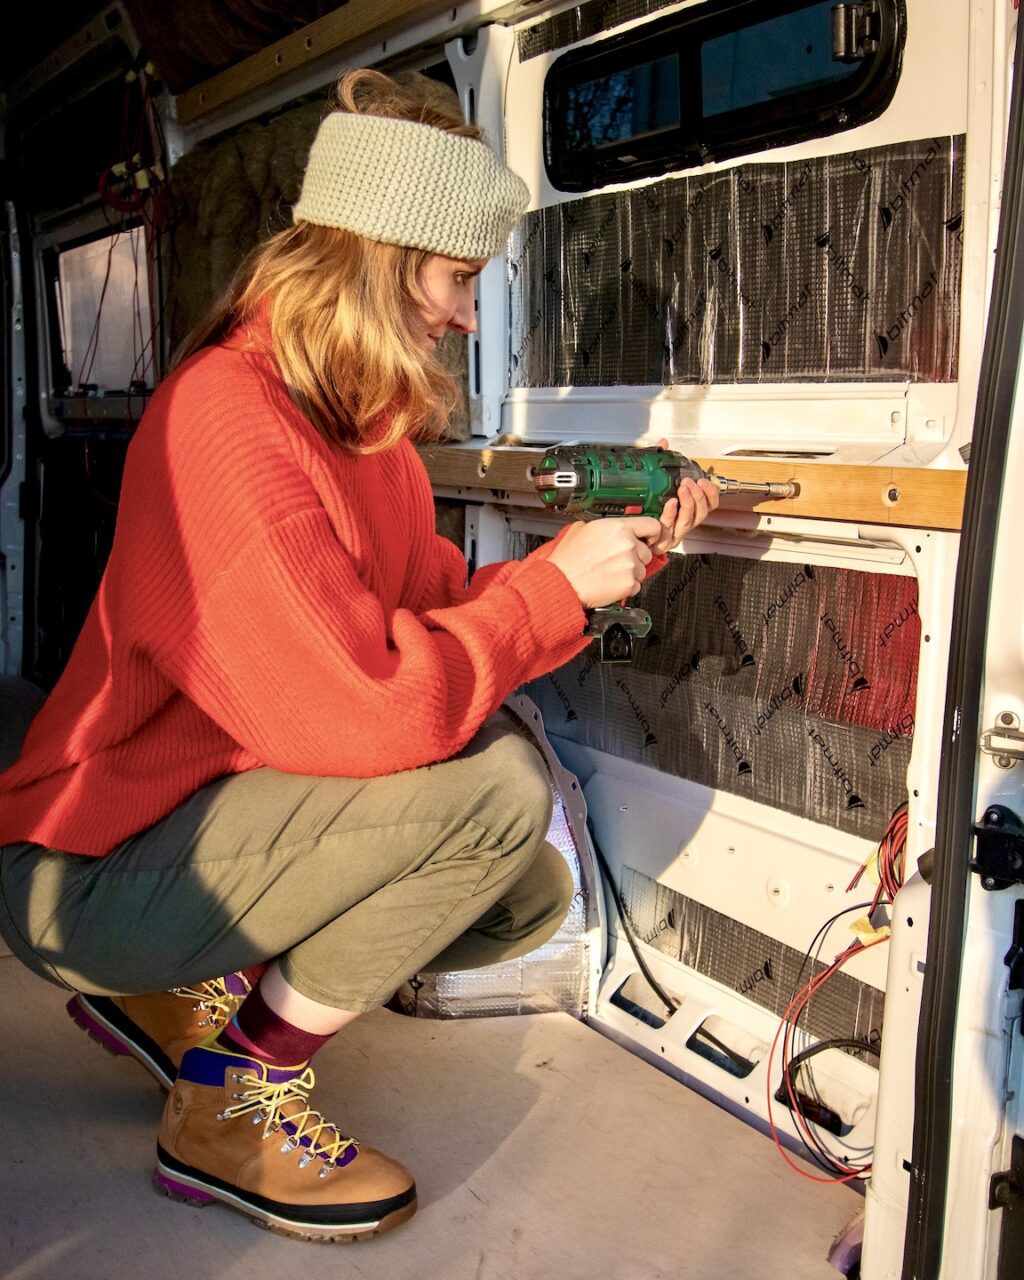
10. Tool Investment Strategy
From personal experience, several tools proved indispensable throughout our build: a quality hole saw, reliable jigsaw, powerful drill, cable crimper, and comprehensive screw assortment topped our “must-have” list.
For specialty tools used only briefly, we saved money by renting or borrowing. However, for everyday items, investing in quality paid dividends through precision and durability.
Assess your specific project requirements rather than purchasing everything at once – your tool collection should grow organically based on your unique conversion needs.
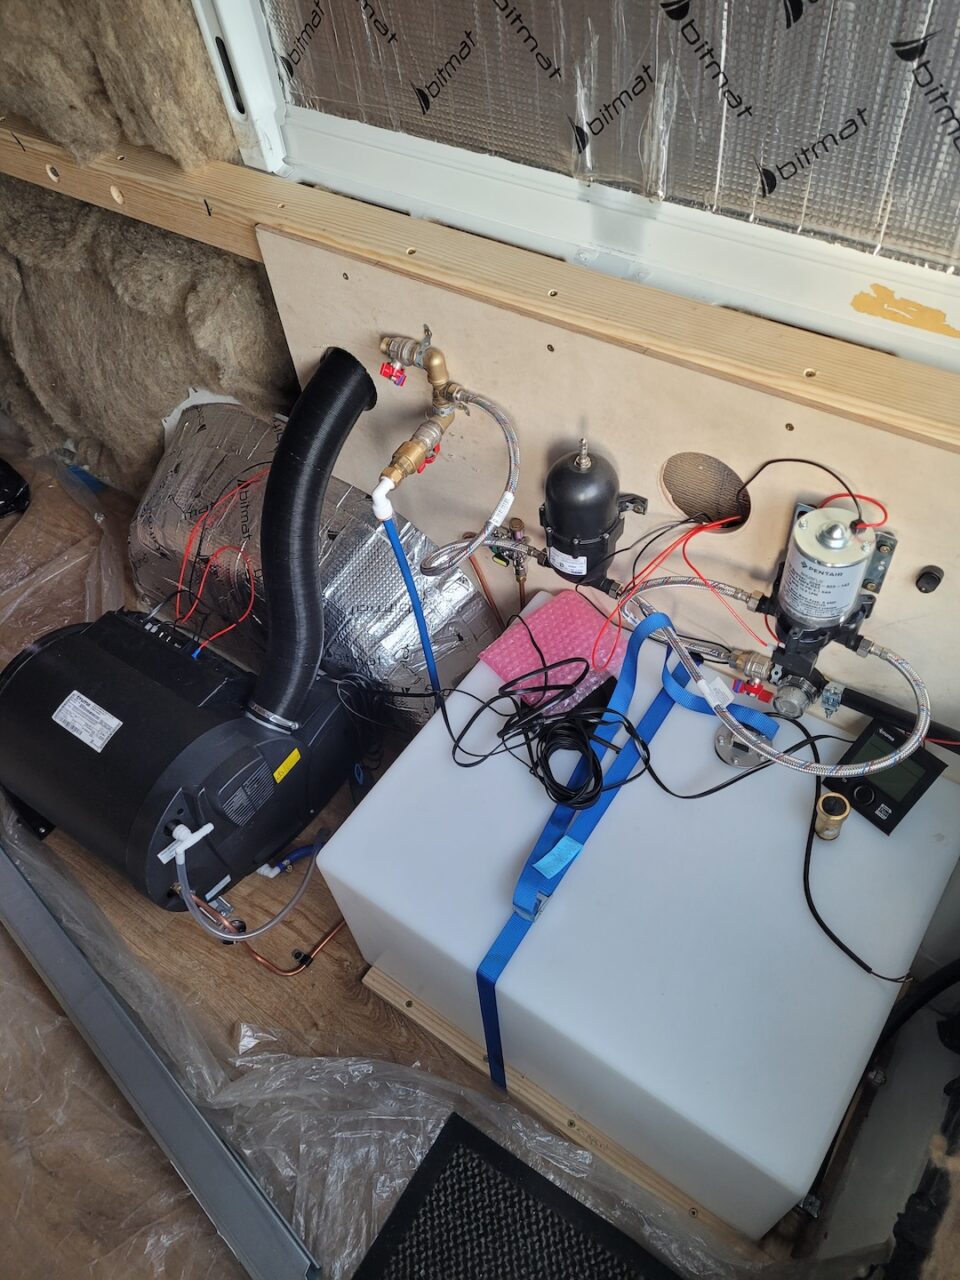
11. Water System Sizing
Water capacity represents one of the most personal decisions in van building. While spacious tanks sound appealing, remember each gallon adds over eight pounds to your gross weight.
Our experience traveling as a pair led us to a 25-gallon fresh water tank matched with similarly sized gray water storage. This provides roughly five days of conservative usage including dishes and quick showers before requiring a refill.
Balance your desire for independence against the weight penalties of excessive capacity based on your typical trip duration and water habits.
Travel lighter, even before you leave.
start with something simple.
Download The Minimum Plan – Slow Travel:
12. Knowing When to Call the Pros
Though we tackled most of our conversion ourselves, certain specialized tasks warranted professional assistance. Honestly evaluating your skills prevents costly mistakes and dangerous situations.
Some tasks require expensive specialized tools used only once – hiring experts often proves more economical than purchasing equipment yourself.
For instance, we contracted professionals for our gas system and pneumatic suspensioninstallation, ensuring safety and proper function.
Remember, van conversion represents a significant investment – strategic outsourcing can improve quality while reducing stress and potentially saving money long-term.

Final Thoughts on Our Van Conversion Journey
Embarking on a camper van conversion ranks among the most rewarding projects we’ve ever undertaken. Proper preparation and learning from others’ experiences help navigate common pitfalls.
Remember there’s no universal “perfect” approach – your unique preferences and travel style should guide every decision. The journey of creating your mobile sanctuary proves as memorable as the adventures that follow.
Embrace the creativity, problem-solving, and personal growth that comes with building your dream van. With thoughtful planning and realistic expectations, your conversion will become a source of tremendous pride and joy!
P.S. Did you find these insights helpful? Share this article with friends tackling their own conversions!

More articles you might be interested in: