
Thinking about starting your own van build and stepping into van life?
I remember how overwhelming it felt at the beginning. There’s so much to figure out, and it’s hard to know where to start.
That’s exactly why I put together this guide – to answer the 20 most common questions people have before they begin.
My partner and I finished our own conversion last year, and we learned a lot along the way. Some things worked, some definitely didn’t – and I wish I had known that earlier.
So if you’re at the beginning of this process, I hope this makes things feel a bit clearer and a bit less overwhelming.
Let’s get into the questions that usually come up first.
Want to learn more about traveling by campervan?
On my Van Life Hub, you’ll find more articles on building a campervan, van travel, real costs of van life, and practical tips from routes across the U.S.
1. How much does a van build actually cost?
Let’s talk real numbers.
Our full setup – including the van – cost us around $40,000.
We didn’t track every category perfectly, but here’s a rough breakdown of the build itself:
- Vehicle modifications: ~$7,000
- Gas & heating: ~$4,000
- Electrical system: ~$4,000
- Water system: ~$2,000
- Furniture & finish: ~$1,500
The rest went into the van itself and smaller costs that add up along the way.
Of course, your final cost can look very different.
Some people spend much less by using reclaimed materials and keeping things simple. Others go all in on high-end appliances and custom builds.
What helped us most was setting a budget early and building in stages instead of trying to do everything at once.
If you want a more detailed breakdown of what we spent and where the money actually goes, I’ve shared it here:
2. How long does a van conversion take?
Be prepared – it will probably take longer than you expect.
Most van builds take anywhere from 3 to 12 months, depending on how much time you can realistically dedicate to it.
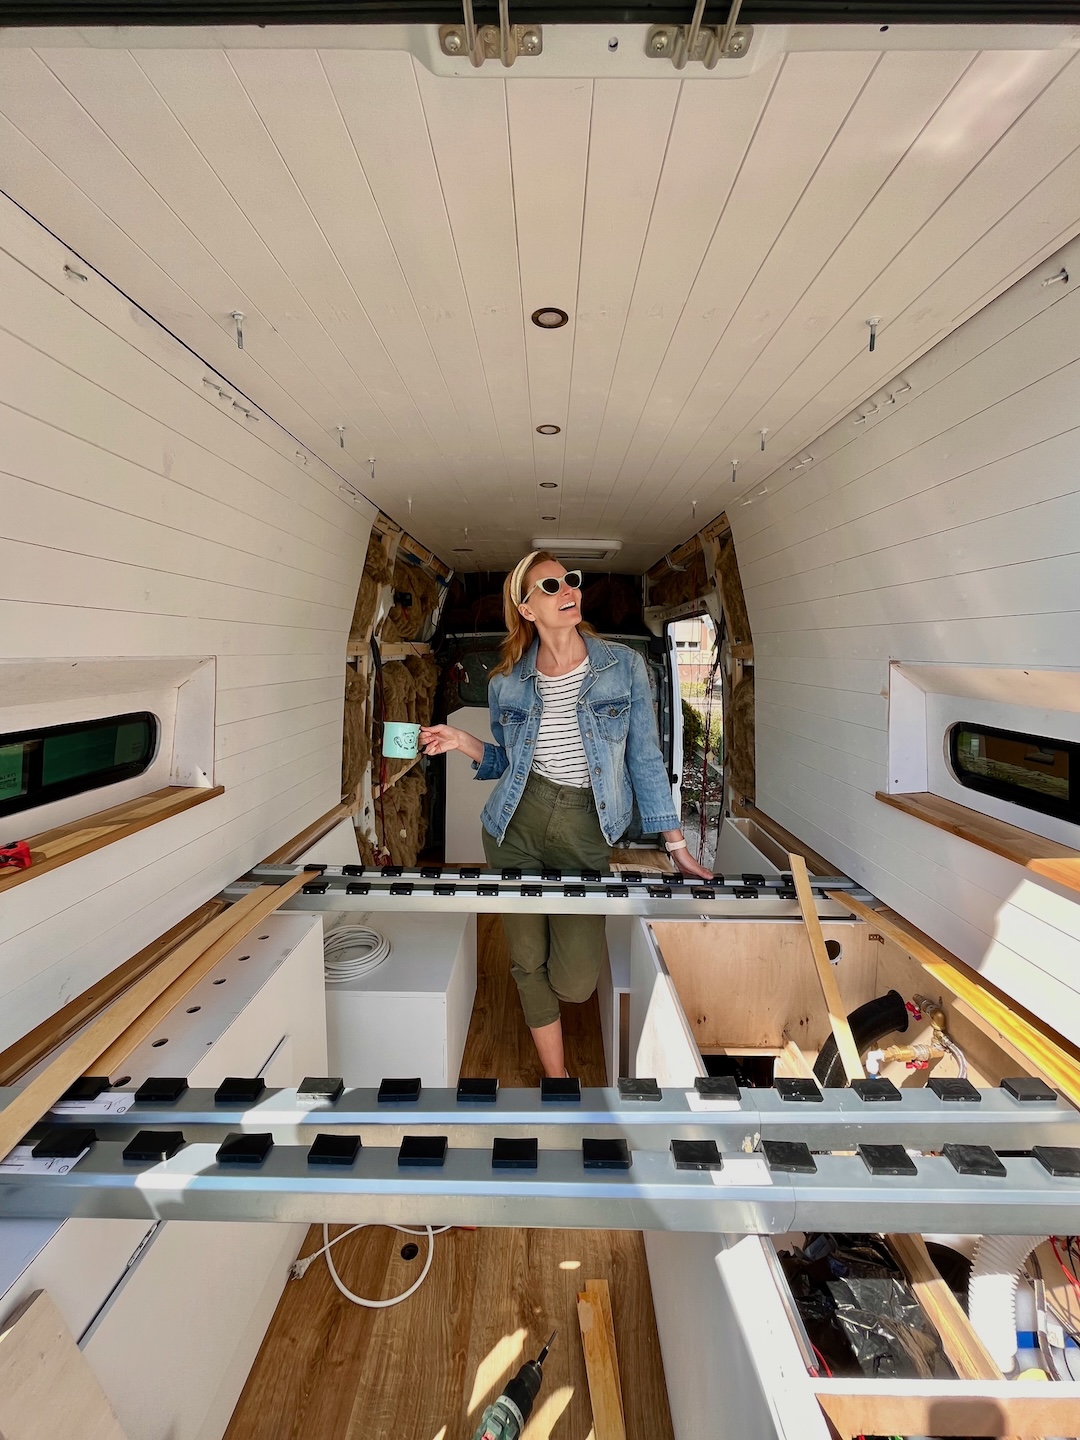
Ours took about 8 months, while working full-time. That meant evenings, weekends, and a lot of sawdust.
Some parts moved quickly, like framing. Others took much longer than expected – especially electrical work.
You can speed things up by using pre-made components, but you’ll lose some of the flexibility that makes a DIY build so personal.
Whatever timeline you have, try to focus on quality over speed.
You’re building something you’ll live in – it needs to be solid, comfortable, and safe.
3. Should you buy a pre-made camper instead?
It’s a fair question – especially when you see ready-made campers with price tags reaching well over $200,000.
Building your own can be significantly more affordable, but that’s not the only reason people choose this path.
The biggest difference is how personal it becomes.
With a DIY build, you design everything around your own needs – how you travel, what matters to you, what you can’t live without. I’ve met plenty of people with factory-built campers who still end up modifying things that don’t quite fit their lifestyle.
There’s also the learning side of it.
Before this project, I had very little hands-on experience. Now I understand how everything works – and that confidence makes a big difference when something breaks on the road.
And then there’s the feeling of it.
It’s hard to explain, but building something yourself – and then living in it – stays with you in a completely different way.
4. Is a DIY conversion really worth it?
For me – yes, absolutely.
It’s not always easy. There are frustrating moments, things that take longer than expected, and plenty of small mistakes along the way.
But having a space that truly fits how you travel makes a huge difference.
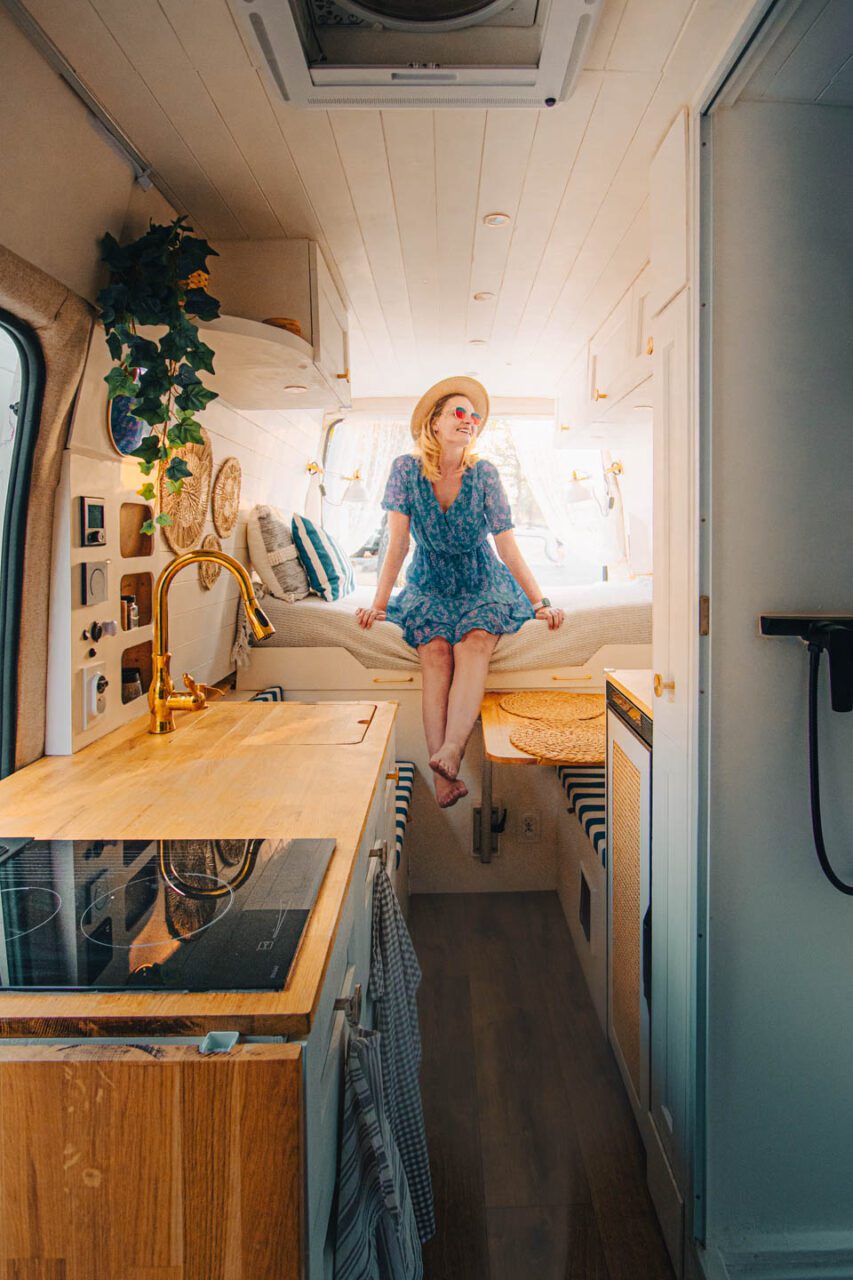
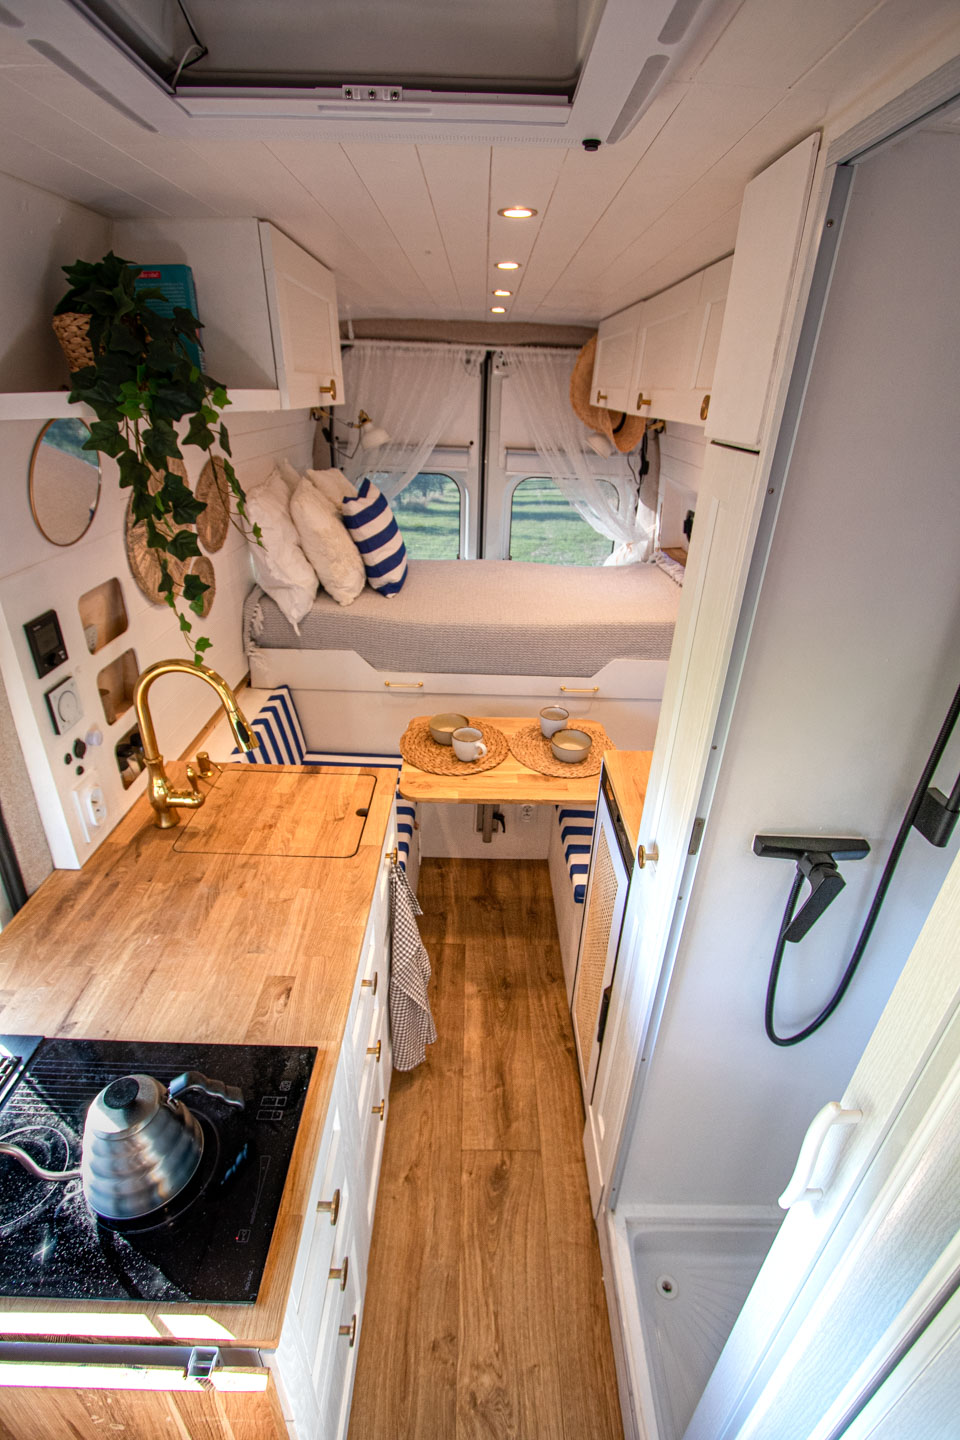
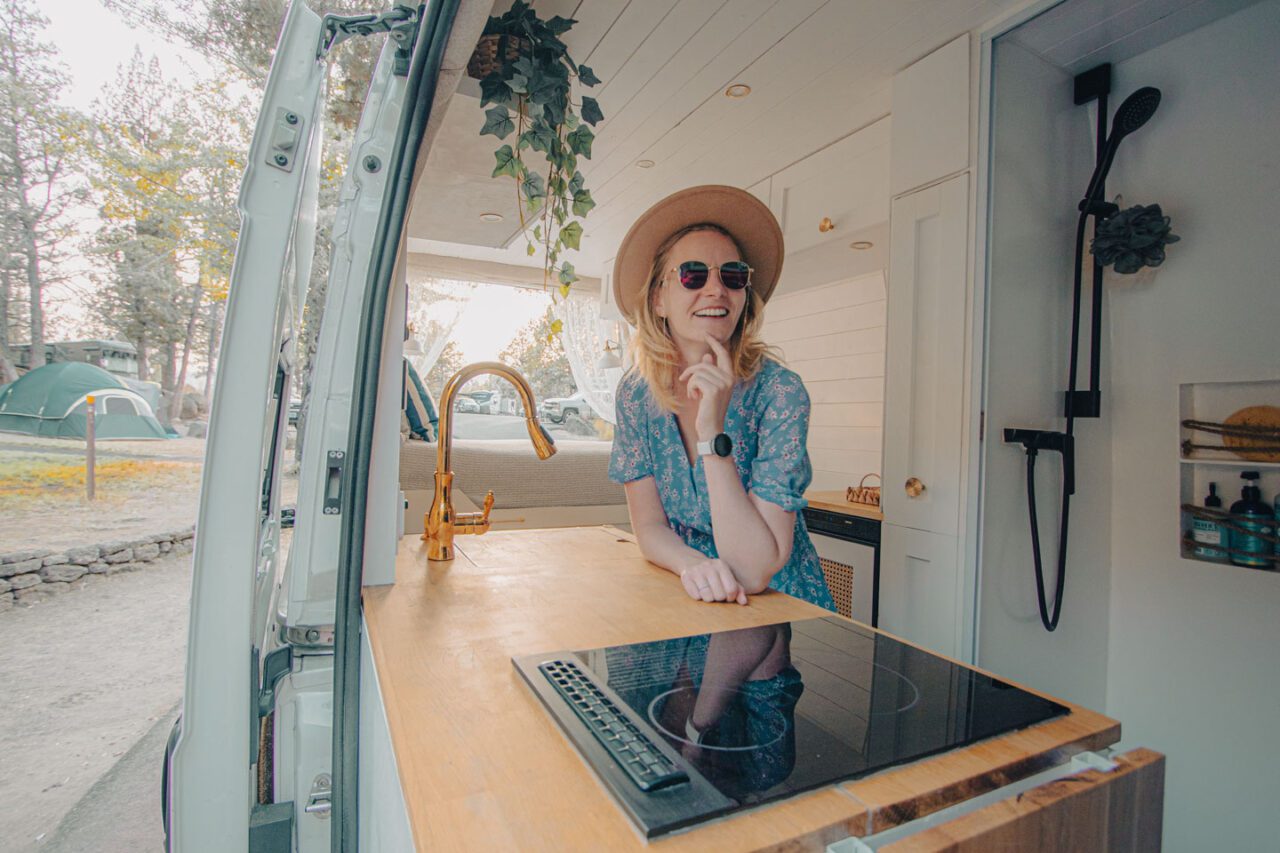
We designed storage for our gear, created a small workspace that actually works, and built a kitchen that makes everyday cooking possible – even in a tiny space.
If you plan to spend more time on the road, that effort starts to pay off quite quickly.
At some point, it’s not just about saving money. It’s about having a space that feels right, wherever you are.
5. What’s the difference between a camper and a campervan?
It mostly comes down to size and maneuverability. Campervans typically It mostly comes down to size and how you travel.
Campervans are usually smaller – often under 7 meters (around 22 feet) – which makes them much easier to drive, park, and take onto narrower roads.
Traditional motorhomes or RVs can be much larger, sometimes up to 14 meters (45 feet). They offer more space, but they’re less flexible and can feel harder to handle.
Your choice really depends on your travel style.
We chose a campervan because:
- we like exploring off-grid places
- we prefer moving often rather than staying in one spot
- we wanted something that could also work as a daily vehicle
- and honestly – parking is just much easier
Larger RVs make more sense if you’re traveling with family or prefer staying at established campgrounds with full facilities.

6. Which van is best for a conversion?
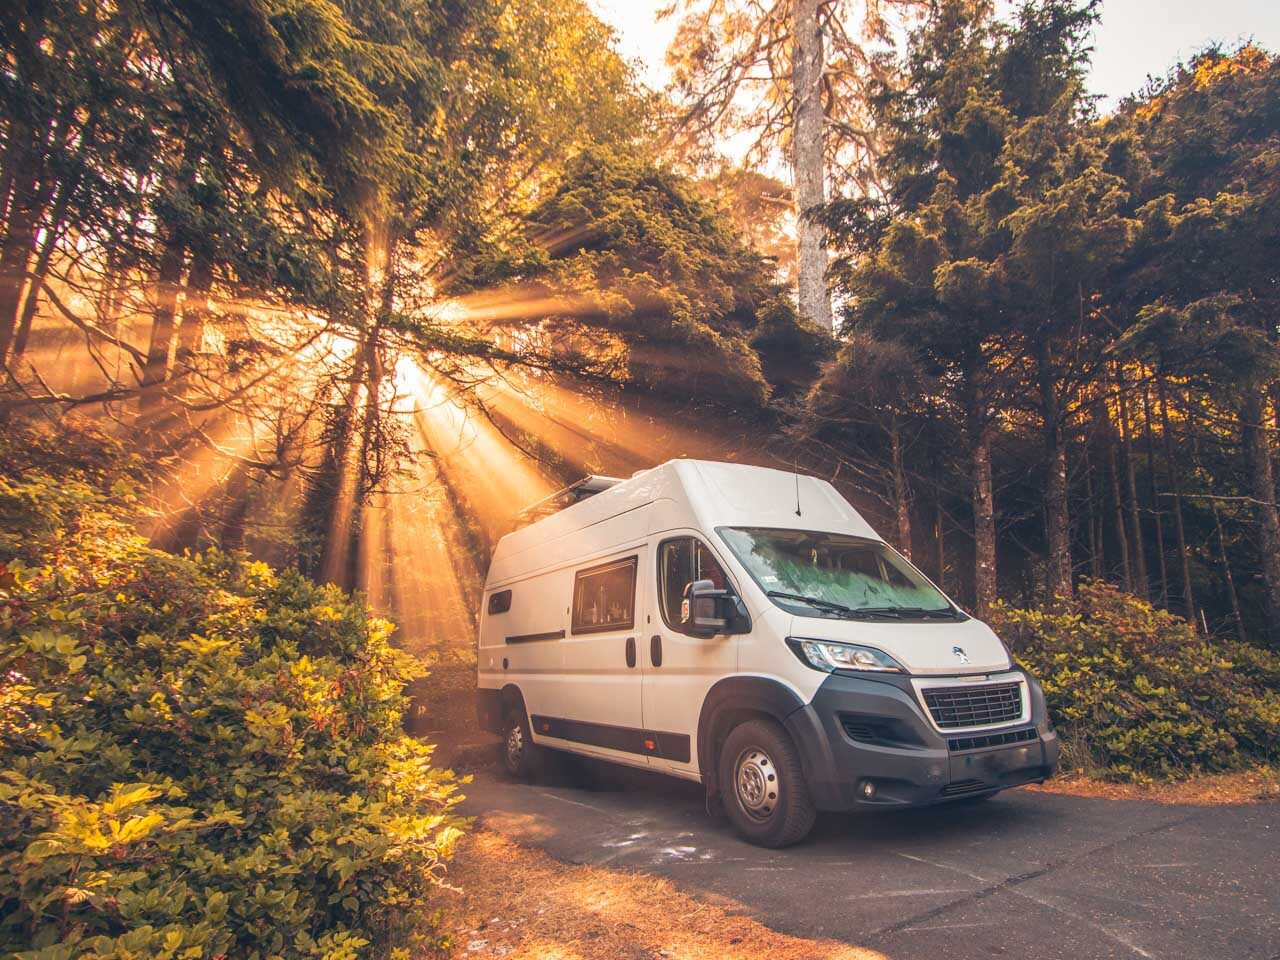
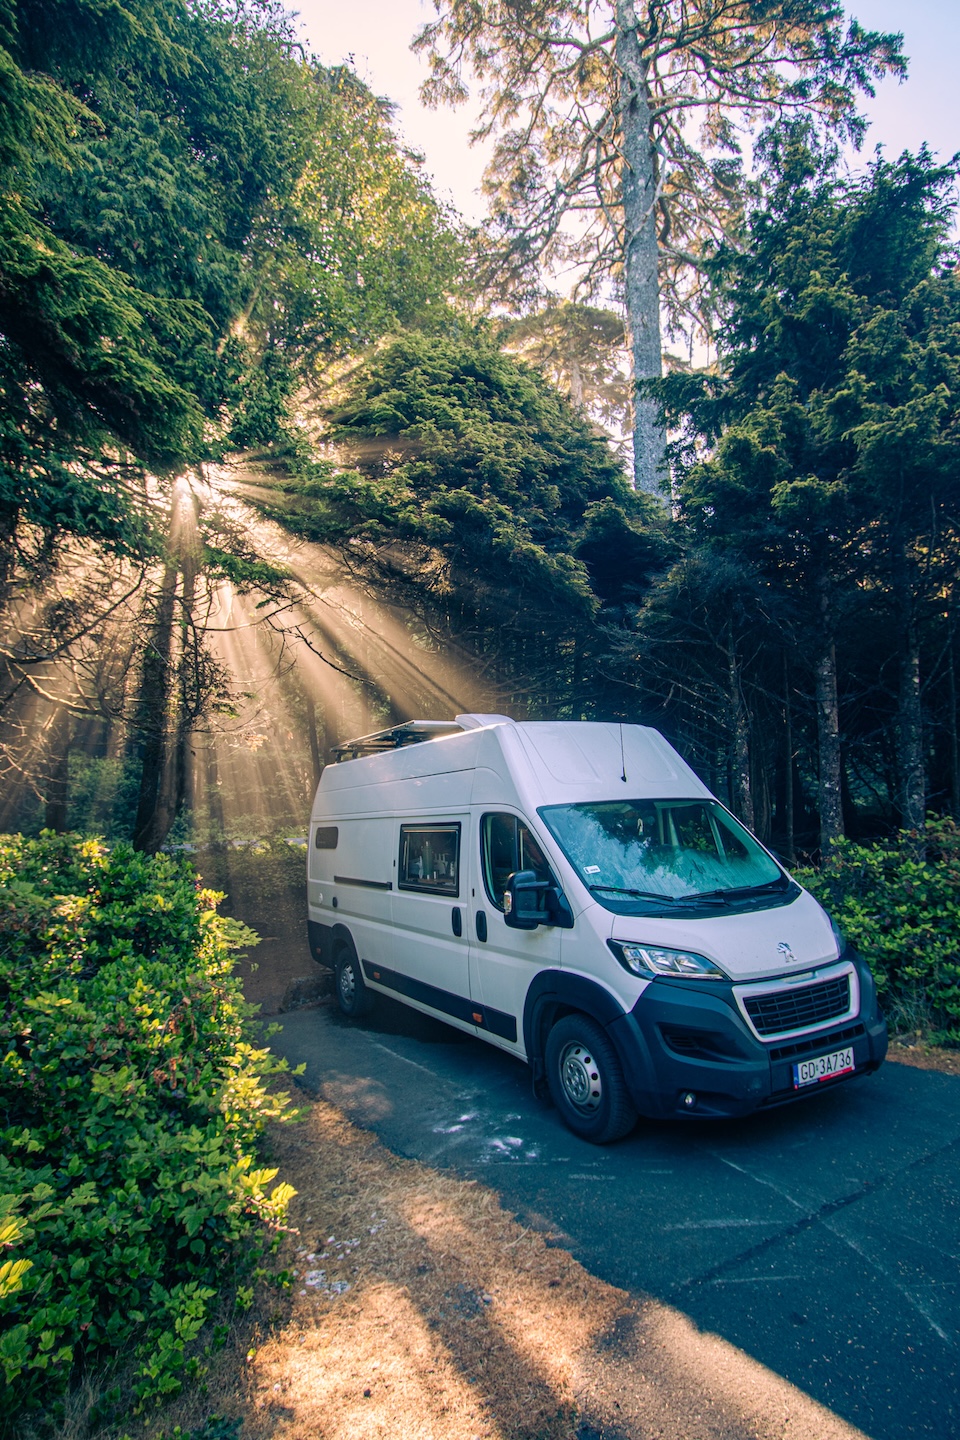
In Europe, you’ll often hear about the “big three”: Fiat Ducato, Peugeot Boxer, and Citroën Jumper (known as the Ram ProMaster in North America).
They’re popular for a reason:
- there’s a huge range of conversion parts available
- they’re relatively affordable to buy and maintain
- parts are easy to find almost anywhere
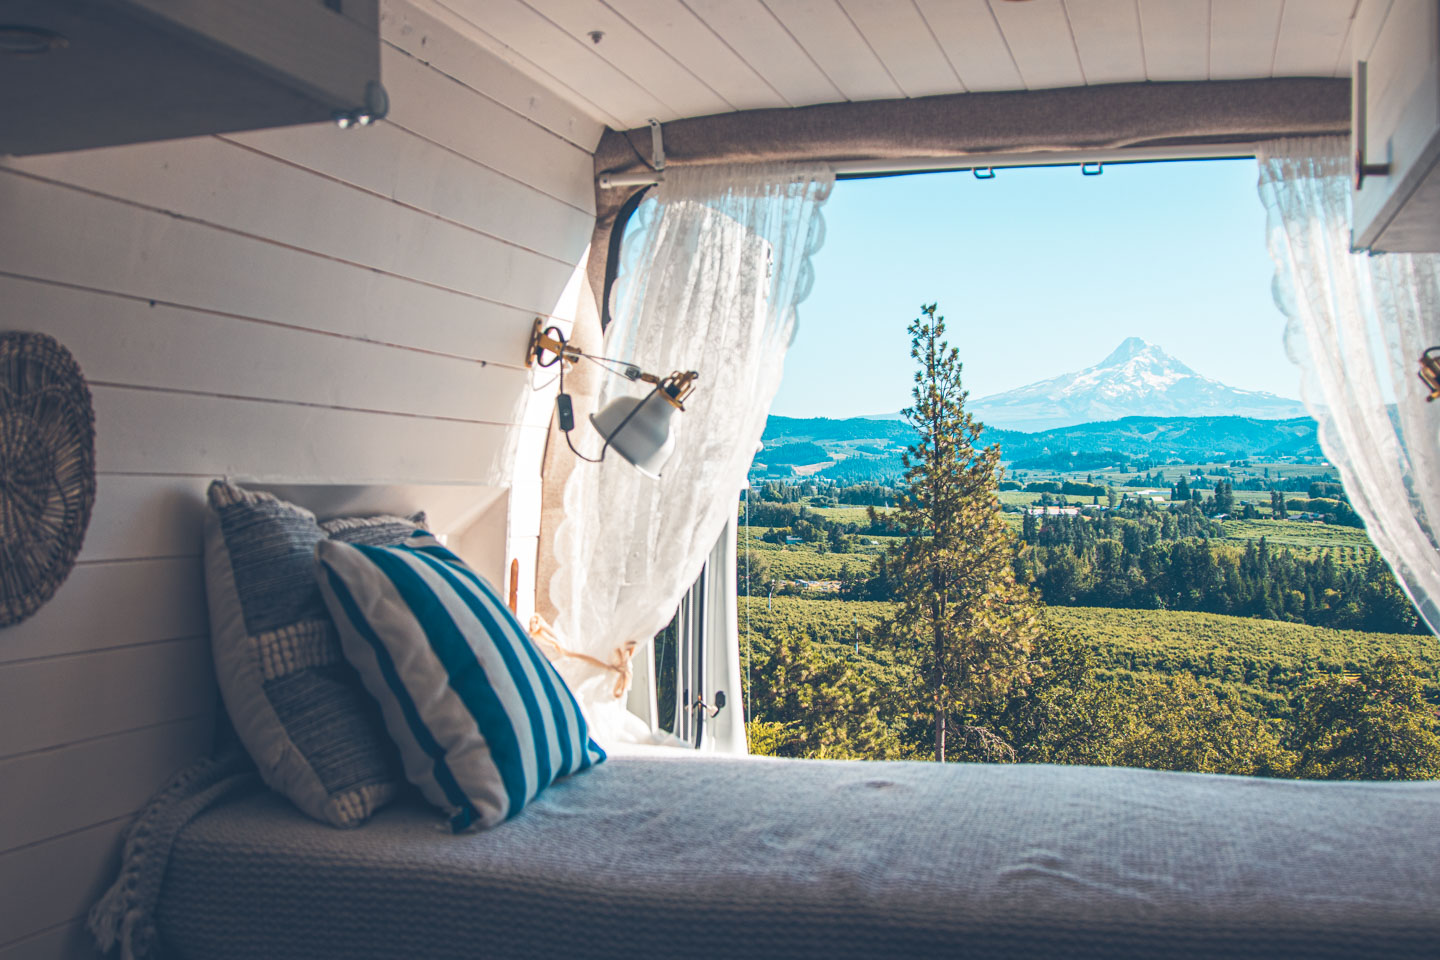
- and their width allows for sideways sleeping (for many people up to around 180 cm / 5’11”)
We chose the Ducato and it worked really well for us.
Other solid options include the Ford Transit, Volkswagen Crafter, and Mercedes-Benz Sprinter.
The Sprinter is often seen as a more premium option, but it usually comes with higher costs. The Transit sits somewhere in between – a good balance between price and performance.
Whatever you choose, try to test drive a few different models. The way a van feels on the road matters just as much as how it looks on paper.
7. How difficult is a DIY campervan conversion?
I won’t sugarcoat it – it can be challenging, especially if you’re starting without much hands-on experience.
But it’s also completely doable.
With time, patience, and a willingness to learn as you go, things start to make sense. We relied a lot on tutorials and advice from the van life community, and that made a big difference.
How difficult it feels really depends on how complex your build is.
Adding electrical systems, plumbing, or gas will naturally make things more demanding.
For us, the bathroom was by far the most complicated part.
Some of the biggest challenges were:
- working with a space that’s not perfectly straight or square
- building in such a small, confined area
- planning and installing the electrical system
- and dealing with unexpected issues along the way
But every problem you solve builds confidence.
And by the end, the sense of accomplishment is hard to compare to anything else.. Every little victory feels huge when you’re building something this personal.
8. Do I really need a toilet in my van?
This is a very personal decision – it depends on how you travel and what you’re comfortable with.
At first, we planned to skip it to save space. But after a two-week trip in a van without one, we quickly changed our minds.
Getting up in the middle of the night and going outside – especially in bad weather – made us realize how much of a difference it actually makes.
If you mostly stay at campgrounds, you might not need a toilet.
But if you prefer off-grid spots, having your own setup adds a lot of comfort and freedom.
There are a few options to consider, like cassette toilets or composting toilets. Both are relatively compact and manageable if used properly.
We chose a cassette toilet because it’s easier to find disposal points in Europe.
If you’re unsure, a portable option can be a good middle ground – you can always store it away when you don’t need it.
9. Where do I even start with a conversion?
When we started our van conversion, we felt completely overwhelmed. Everything changed once we broke the process down into smaller, manageable steps.
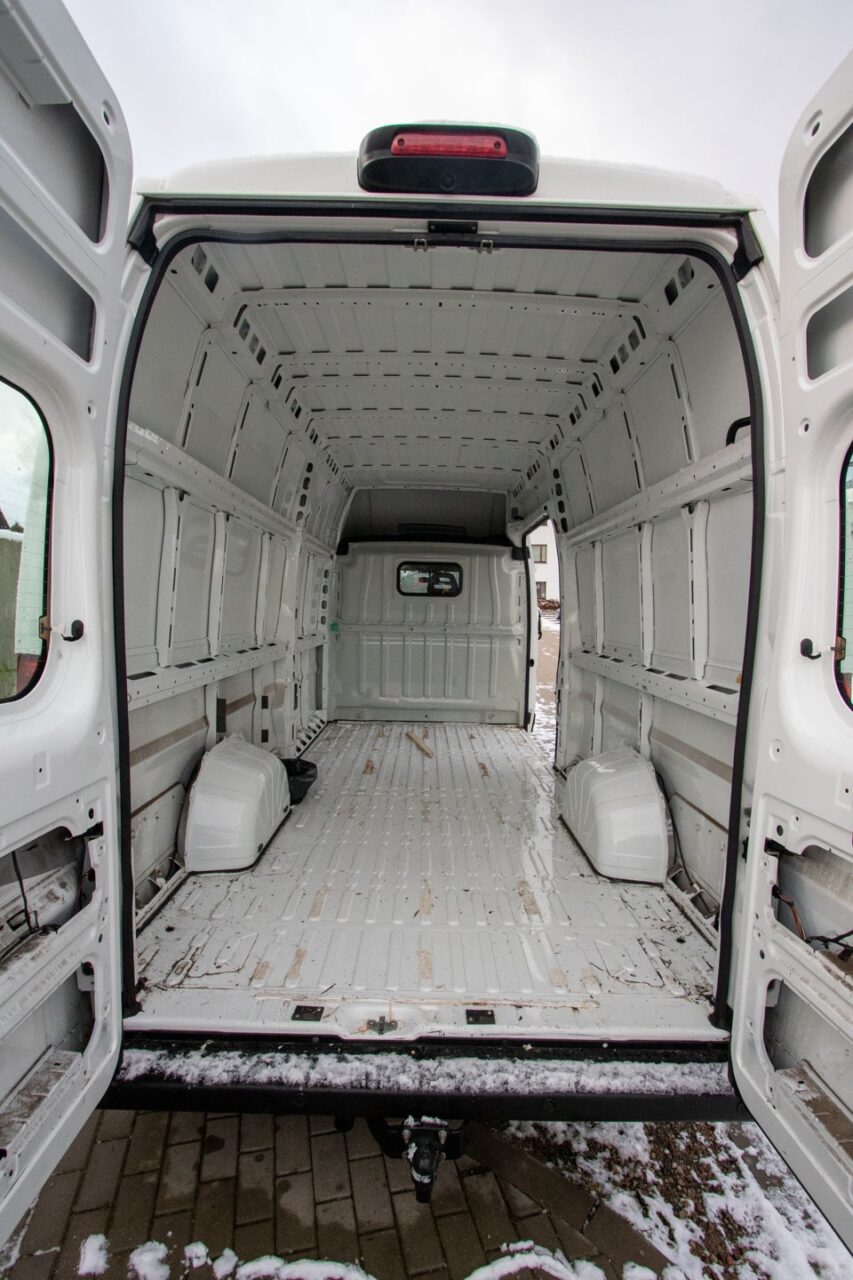
Start with a solid project plan – sketches, measurements, and a realistic budget. Then, before you dive into interiors, focus on the “shell” of the van first.
Cut openings for windows, roof vents, and any exterior connections early on.
Take care of mechanical upgrades (we added air suspension, and it was absolutely worth it).
Make sure the van is fully serviced before you build anything inside.
A good rule to follow: work from the outside in, and from the bottom up. Anything that involves cutting into the van’s body should happen at the very beginning.
We learned this the hard way. We didn’t plan all our exterior cuts upfront and later had to remove part of the interior just to install another roof vent. It was frustrating, messy, and completely avoidable.
10. Is ventilation really that important?
Short answer? Yes. More than you think.
Ventilation isn’t the most exciting part of a van build, but it quietly decides how comfortable your space will feel day to day.
Without proper airflow, things start to build up fast.
Cooking smells don’t disappear – they stay with you much longer than you’d expect (we learned that after one fish dinner).
Condensation shows up on cold nights, and over time it can lead to mold.
In the summer, the heat inside the van becomes heavy and hard to escape.
And even the air itself starts to feel stale, making a small space feel even smaller.
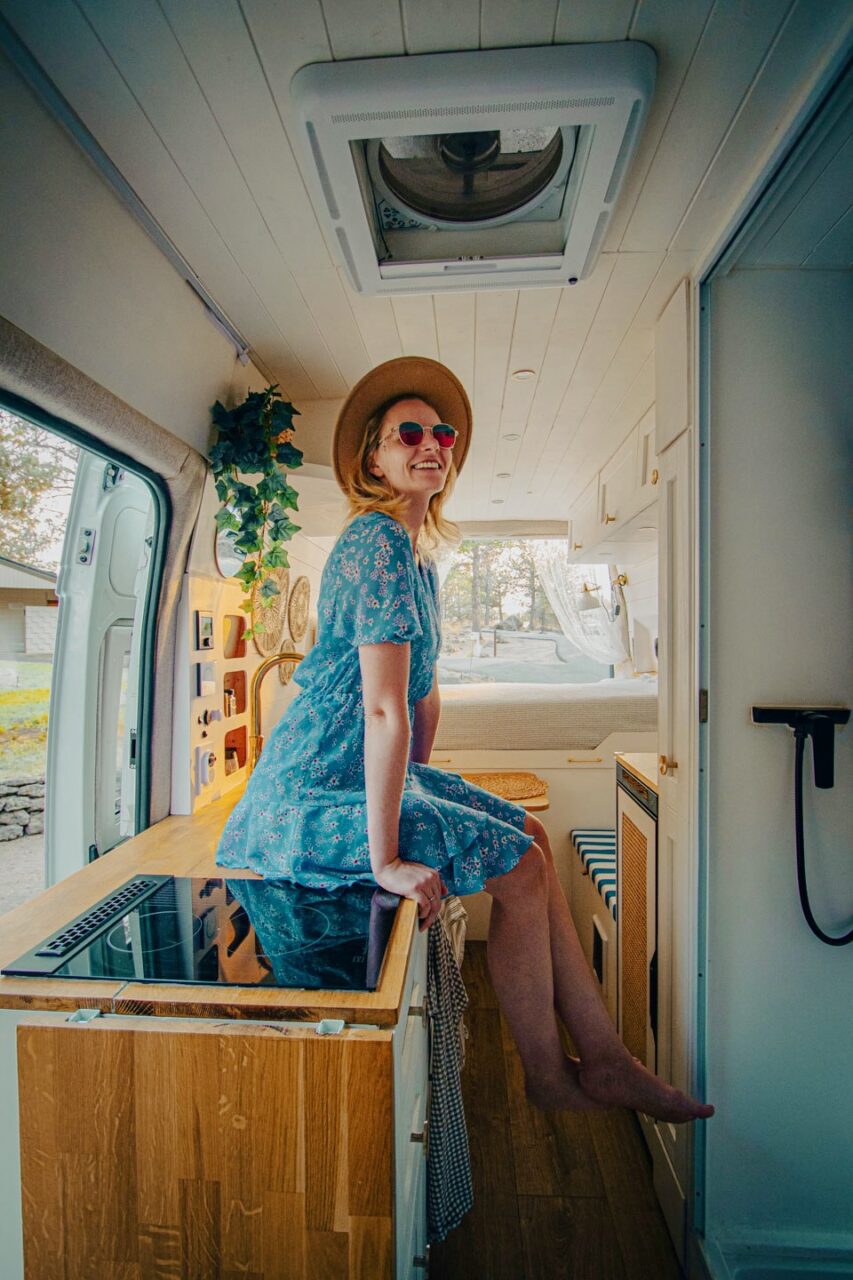
We installed a MaxxFan on the roof and added two opening windows, which created a really nice cross-breeze. Looking back, I’d probably add a second fan just to improve airflow even more.
It’s one of those things you don’t fully appreciate until you don’t have it.
And once you do, you realize it’s not just about comfort – it’s about how you actually feel inside your van every day.
11. What kind of wood should I use for cabinets?
The wood you choose shapes your van – not just how it looks, but how it feels to live in over time.
There are a few things worth keeping in mind.
Weight matters more than you think. Every extra kilo adds up on the road.
Moisture will always be part of van life, even if you try to control it.
And your cabinets need to handle movement, bumps, and everyday use.
We went with birch plywood, which felt like a good balance between weight, durability, and price.
For structural parts like the bed frame and cabinet frames, we used 12 mm (1/2 inch).
For lighter elements and curved pieces, 6 mm (1/4 inch) worked better – easier to handle and less heavy visually.
You’ll often hear about marine or aviation-grade plywood. It’s great, but also significantly more expensive. For us, it didn’t feel necessary.
What matters just as much as the wood itself is how you finish it.
We sealed everything with a few coats of water-based polyurethane to protect it from moisture. It’s a small step, but it makes a real difference over time.
You don’t need the most expensive materials to build something that lasts – just thoughtful choices and a bit of care.
12. How do I actually build cabinets that don’t fall apart?
Van cabinets live a completely different life than regular ones. Everything moves, so they need to be built with that in mind.
Start with measurements, but don’t expect anything to be perfectly straight. Vans rarely are. What helped us a lot was making cardboard templates before cutting the actual wood.
When building, don’t rush the final assembly.
First, put everything together using screws only. Test-fit it inside the van. Adjust – and then adjust again.
Once everything fits the way it should, take it apart, add wood glue, and assemble it properly.
We also reinforced corners with small metal brackets and used countersunk screws with thread locker so nothing loosens over time.
And one small detail that made a huge difference: rounded corners.
It sounds simple, but it saves you from a lot of daily bumps and bruises.

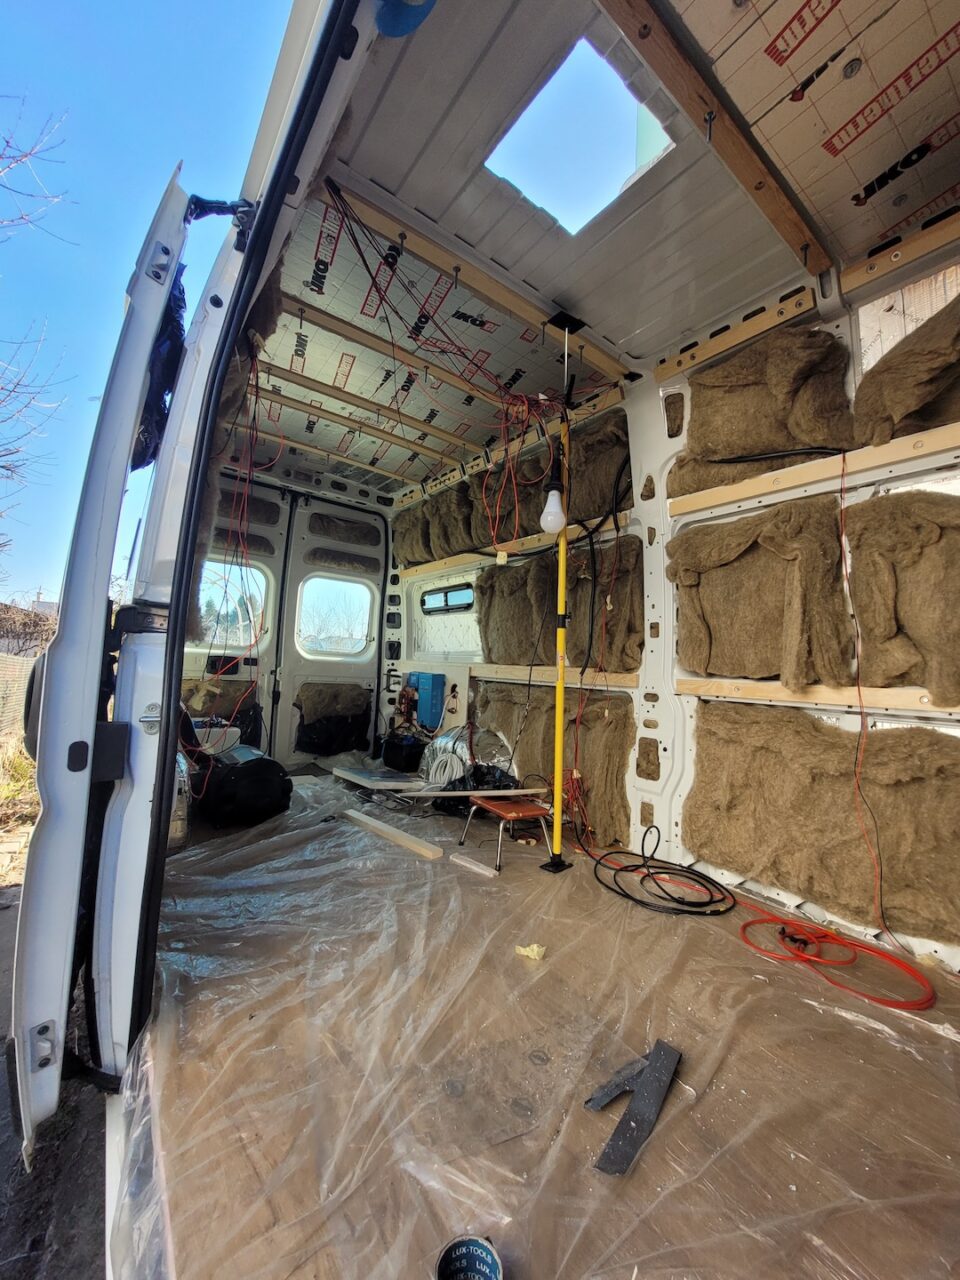
13. What’s the best way to insulate the walls?
Insulation isn’t the most exciting part of the build, but it quietly makes one of the biggest differences. It’s what separates your van from the outside world.
When choosing materials, a few things really matter.
Good thermal performance. Safety – especially non-combustible options. And something non-toxic, since you’re living in such a small space.
Our setup was quite simple and worked well for us.
We started with sound deadening mats to reduce road noise (like Kilmat or Noico).
Then added XPS foam boards as the main insulation layer – a good balance between thickness and performance.
We sealed any gaps with expanding foam. In some areas, we added a layer of reflective insulation. And then everything was covered with thin plywood and fabric.
Each material has its trade-offs.
Mineral wool is great for sound, but harder to work with in curved spaces.
Foam boards are easier to cut and install, but you need to be careful with gaps.
There’s also a lot of discussion around vapor barriers, and honestly – you’ll find strong opinions on both sides. What matters most is being mindful of moisture and building in a way that lets your van breathe a little.
It doesn’t have to be perfect. It just needs to work for the way you travel and the climates you plan to be in.
14. Should I bother insulating the ceiling?
Yes – this is one place I wouldn’t skip.
The ceiling takes direct sun, and without insulation it quickly turns the van into a hot box. You feel it almost immediately.
Our setup was simple but made a big difference.
We started with sound deadening (rain on a metal roof is louder than you’d expect).
Then added 25 mm (1 inch) PIR boards – thin, but very effective.
In some areas we included a reflective layer to help with heat.
And finished everything with 5 mm plywood and fabric.
The ceiling is where insulation really pays off. In summer it keeps the heat out, and in colder weather it helps keep warmth inside.
It also changes how the van sounds. Rain becomes softer, more muted – instead of something that takes over the whole space.
It’s one of those upgrades you notice every single day once you have it.
15. What about insulating the floor?
The floor is easy to overlook, but it makes a real difference in everyday comfort – especially when it comes to warmth.
Our setup was simple and worked well.
We started with a layer of polyethylene foam to even out the ridges in the van floor. Then added 20 mm (3/4 inch) XPS boards for insulation.
On top of that, 12 mm (1/2 inch) plywood for structure. And finished with vinyl flooring, which is durable and easy to clean.
The floor becomes the base for everything else, so it’s worth taking your time here. Getting it level early on made the rest of the build much easier, especially when it came to cabinets.
It also changes how the van feels. In colder months, you’re not stepping onto an icy surface first thing in the morning – and that alone makes a big difference.
16. What flooring material works best in a van?
Your floor goes through a lot in a van -dirt, moisture, spills, constant movement. It needs to handle all of that without becoming a problem later.
A few things really matter here.
It should be fully waterproof, not just water-resistant. Easy to clean, because you’ll bring the outside in more often than you expect.
Durable enough to handle movement and everyday use. And relatively lightweight.
We chose vinyl click flooring, and it worked really well for us. It’s waterproof, easy to clean, and still feels warm and homey.
Carpet might look cozy, but in a van it quickly becomes hard to manage – it holds moisture, dirt, and smells. Wood can look beautiful too, but without proper sealing it doesn’t handle water very well.
One thing that made a difference for us was securing the floor properly. Instead of letting it float, we used a flexible adhesive to keep everything in place while driving.
It’s one of those choices you don’t think about much later – which usually means you got it right.e flooring adhesive rather than floating our floor to prevent movement.
Ready to take your van life to the next level?
🔨 Planning a van build? → See layout ideas that actually work
📋 Starting from scratch? → Step-by-step van build guide
🛠️ Mid-conversion? → Essential tips to avoid costly mistakes
❓ Still planning? → 10 reasons to convert your own campervan
Where are you in your van life journey?
17. How do I keep warm in the winter?
Even if you think you’ll only travel in summer, it’s worth thinking about this early. Plans change – and cold nights happen faster than you expect.
Staying warm in a van is really a combination of a few things working together.
Good insulation in the walls, ceiling, and floor. A reliable heat source. And ventilation to manage moisture.
Even with solid insulation, you’ll still need a heater for winter. We installed a diesel heater connected to the van’s fuel tank, and it made a huge difference. It’s reliable and doesn’t rely on propane, which we preferred.
What surprised us most is how much insulation helps year-round. It keeps you warm in winter, but also protects from heat in summer.
A few small things that made daily life more comfortable:
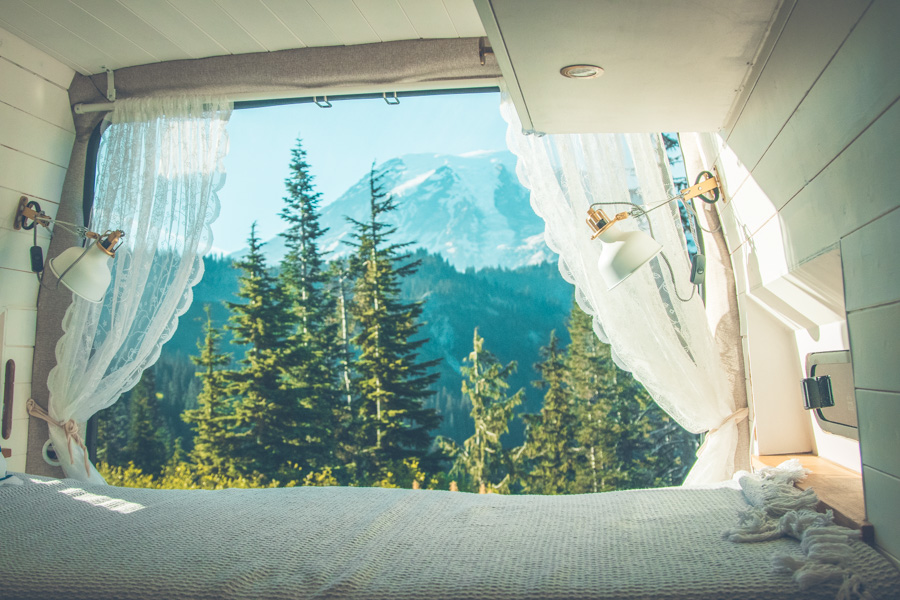
Insulated window covers at night – they change everything. Managing moisture, especially on colder mornings. And something soft underfoot, like a small rug, so the space feels warmer.
It’s not about making the van perfect for winter – just comfortable enough that you still enjoy being there.
18. Can I actually use my van in winter?
Yes – with the right setup, it’s absolutely possible.
Winter van life just asks for a bit more awareness.
You need to keep the inside above freezing, especially if you have any plumbing.
Take care of your batteries – some types don’t like being charged in low temperatures. And stay on top of moisture, because condensation builds up quickly in the cold.
One thing that feels counterintuitive at first: ventilation still matters.
Even when it’s freezing outside, you need some airflow. Otherwise, moisture settles on every surface.
We learned this on our first winter trip – waking up to damp windows, walls, everything. A small habit like cracking a vent makes a big difference.
We also added a simple temperature and humidity monitor, which helped us understand what was actually happening inside the van.
Once you figure out that balance, winter travel becomes something completely different.
Quiet places. Fewer people. Snow outside, and a warm, cozy space inside.
It’s not the easiest version of van life – but it can be one of the most rewarding. camping spots, and the satisfaction of being cozy while snow falls outside.
19. What’s the most efficient way to heat a van?
AThere are a few ways to heat a van, but not all of them make sense in a small, moving space.
The most common options are:
- Diesel heaters
- Propane systems
- Electric heating (only really works when plugged into shore power)
- Wood stoves (beautiful idea, but not very practical in most vans)
After looking into all of these, we chose a diesel heater – and it turned out to be the simplest, most reliable option for us.
It draws fuel directly from the van’s tank, so there’s nothing extra to carry. It’s very efficient and can run for hours without using much fuel.
The heat is dry, which helps with moisture instead of adding to it. And it works well even at higher elevations.
Installation wasn’t the easiest part of the build, but once it was done, we didn’t really have to think about it again.
Whatever system you choose, what matters most is that it’s safe, reliable, and suited to how you actually travel.
You don’t need the most advanced setup – just something you can trust on a cold night.
20. What ongoing costs should I budget for?
Van life isn’t free – and it’s better to be honest about that from the start.
The main costs show up regularly.
Fuel is usually the biggest one. It adds up quickly, especially on longer trips.
Insurance depends on coverage, but it’s something you’ll feel yearly.
Maintenance is often higher than in a regular car – parts and repairs just cost more.
And if you don’t have space at home, storage can become another expense.
We started tracking everything in a simple spreadsheet, and it helped us understand what van life actually costs us month to month.
Even with these expenses, it can still be more affordable than constant hotels or rentals – especially if you travel often.
What made the biggest difference for us was staying on top of maintenance.
Regular check-ups every few months helped us catch small issues before they turned into bigger, more expensive ones.
It’s not about making it cheap – it’s about making it predictable.ervals have helped catch small issues before they became major headaches.
Travel lighter, even before you leave.
start with something simple.
Download The Minimum Plan – Slow Travel:
Final Thoughts on Van Build
Building a campervan has been one of the most challenging things we’ve done – and at the same time, one of the most rewarding.
There were moments of frustration, things that didn’t go as planned, decisions we’d probably make differently today. But even with all of that, I’d still choose to do it again.
Because what you get in return is something hard to describe.
The freedom to move at your own pace. To wake up somewhere new, without packing and unpacking your life every few days. To have a small space that slowly starts to feel like your own.
Over time, the van becomes more than just a vehicle. It turns into a place you return to – no matter where you are.
If you’re thinking about starting your own build, you don’t need to have everything figured out. Most of it you’ll learn along the way.
And that’s part of the experience.
If you’re already building – or just thinking about it – I’d really love to hear where you are in the process.
Ready to start your own van conversion adventure?
If you’re feeling that pull – that quiet idea in the back of your head – this might be a good place to start.
- Build Planning Guide → if you want to avoid the mistakes we made and start with more clarity
- 12 Things to Know → a simple way to understand what really matters before you begin
- Van Life Hacks → small, real-life things that make a big difference on the road
- Layout Inspiration → ideas that might help you shape your own space